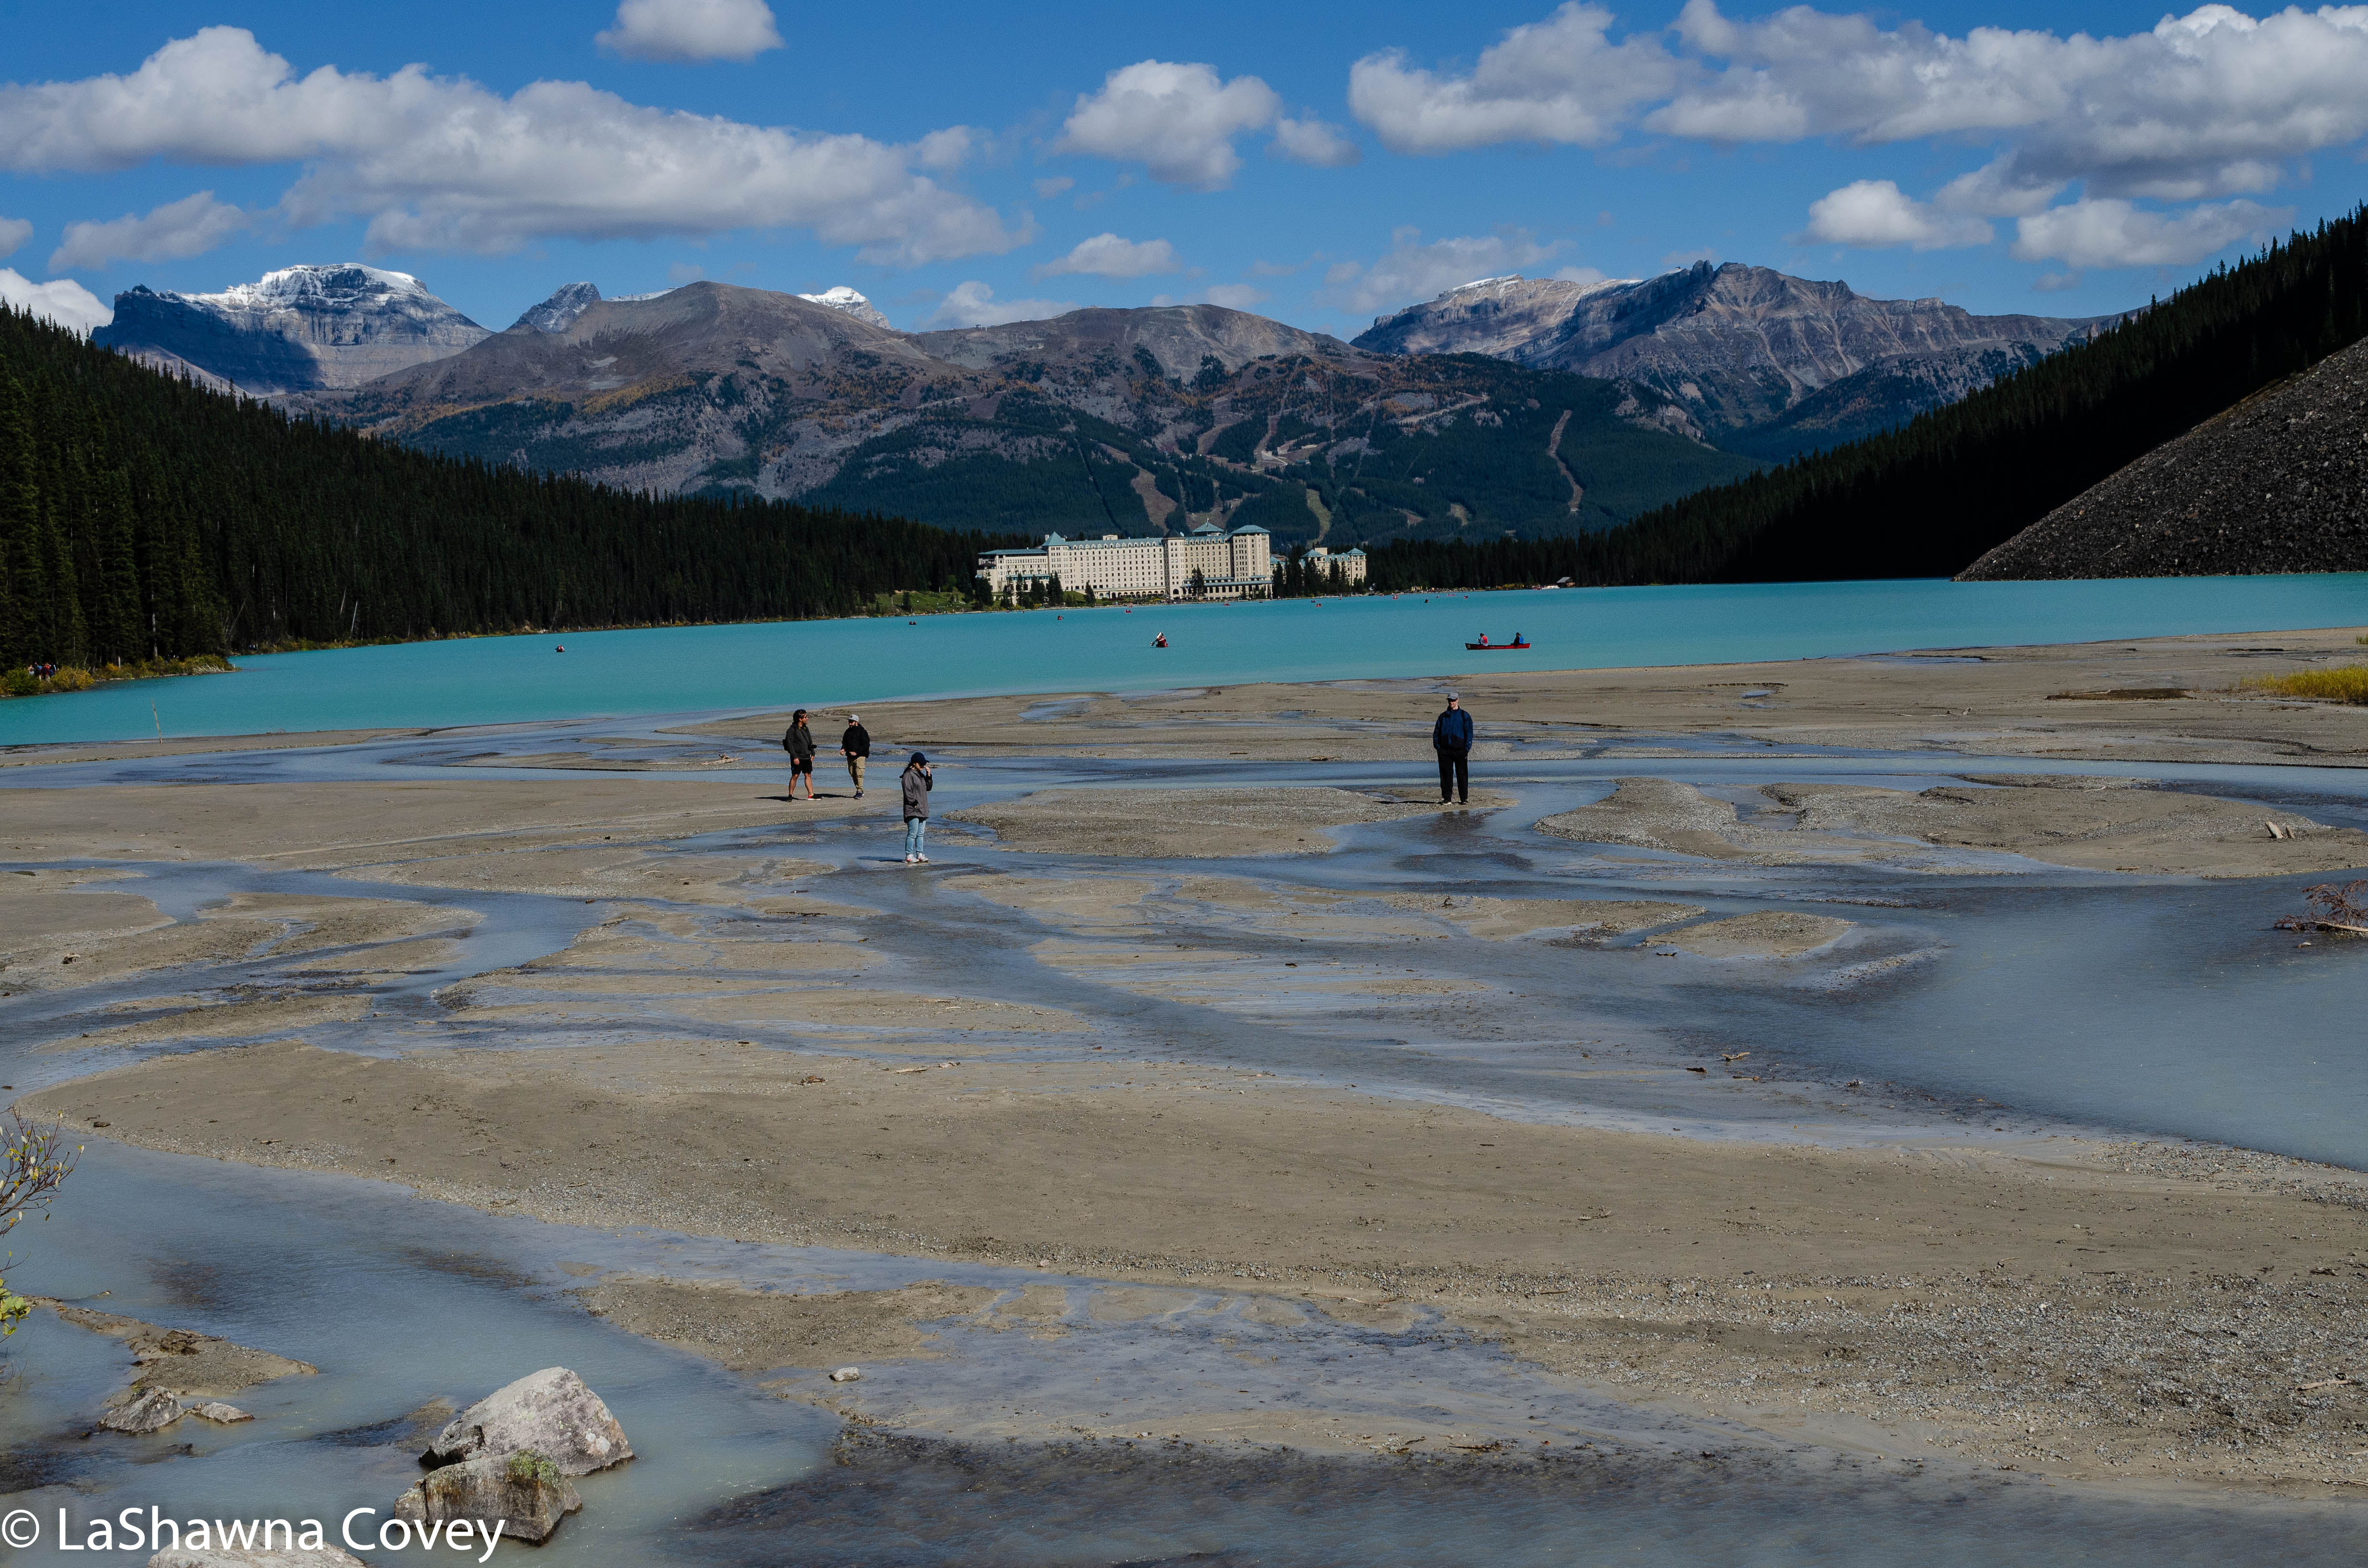
Let me start right out and say this post is NOT about the full and entire hike. I did a tremendous amount of research of on the El Chalten hikes, because I was getting mixed signals about the difficulty of the hikes. I read enough to realize that while the bulk of the Laguna de los Tres hike was within my capability, the final part of it (and what the hike is named for), was probably a bridge too far. It is true that the final part of the hike is only one kilometer with the hardest part being only about 400m, but it is SUPER steep (like around 45% angle), and the trail is highly uneven with loose stones, so it is easy to trip and fall. Plus it is often super windy at the top and it is not uncommon for clouds to obscure the view of the lakes and mountains. So even though I certainly read blog posts from older people who have completed the hike, I read enough to know that I was likely to struggle mightily on this part of the hike. And since so many people do this hike, I was afraid of basically holding everyone up, because there really isn’t a way around me. And I was afraid of falling, spraining an ankle, or otherwise hurting myself. So I felt comfortable stating that this part of the hike was not for me.

But once I made that decision, the next decision is where to start this hike. The traditional way of starting this hike (and the cheapest), is to start from the trailhead in El Chalten, which is at a parking lot where the paved road ends at the end of town. Since El Chalten is a very small town, it isn’t a far walk from anywhere. HOWEVER, that would make the trail an out and back trail, with roughly 12 miles hiking round trip. And since I had done the Laguna Torre hike the day before, my body was already sore, and my feet ached. BUT, there is an alternate way of starting this hike, though it involves (at least for me) an expensive cab ride to the start point. There is a shuttle bus that will take there fairly cheaply, but it was completely booked my entire time in El Chalten. I would rather spend the money to take a cab and do one long hike (though the distance was still shorter than if I had done the hike as a round trip). I am not a fan of out and back hikes, because I am seeing the same landscape twice, whereas a single trail provides a continuously changing view.

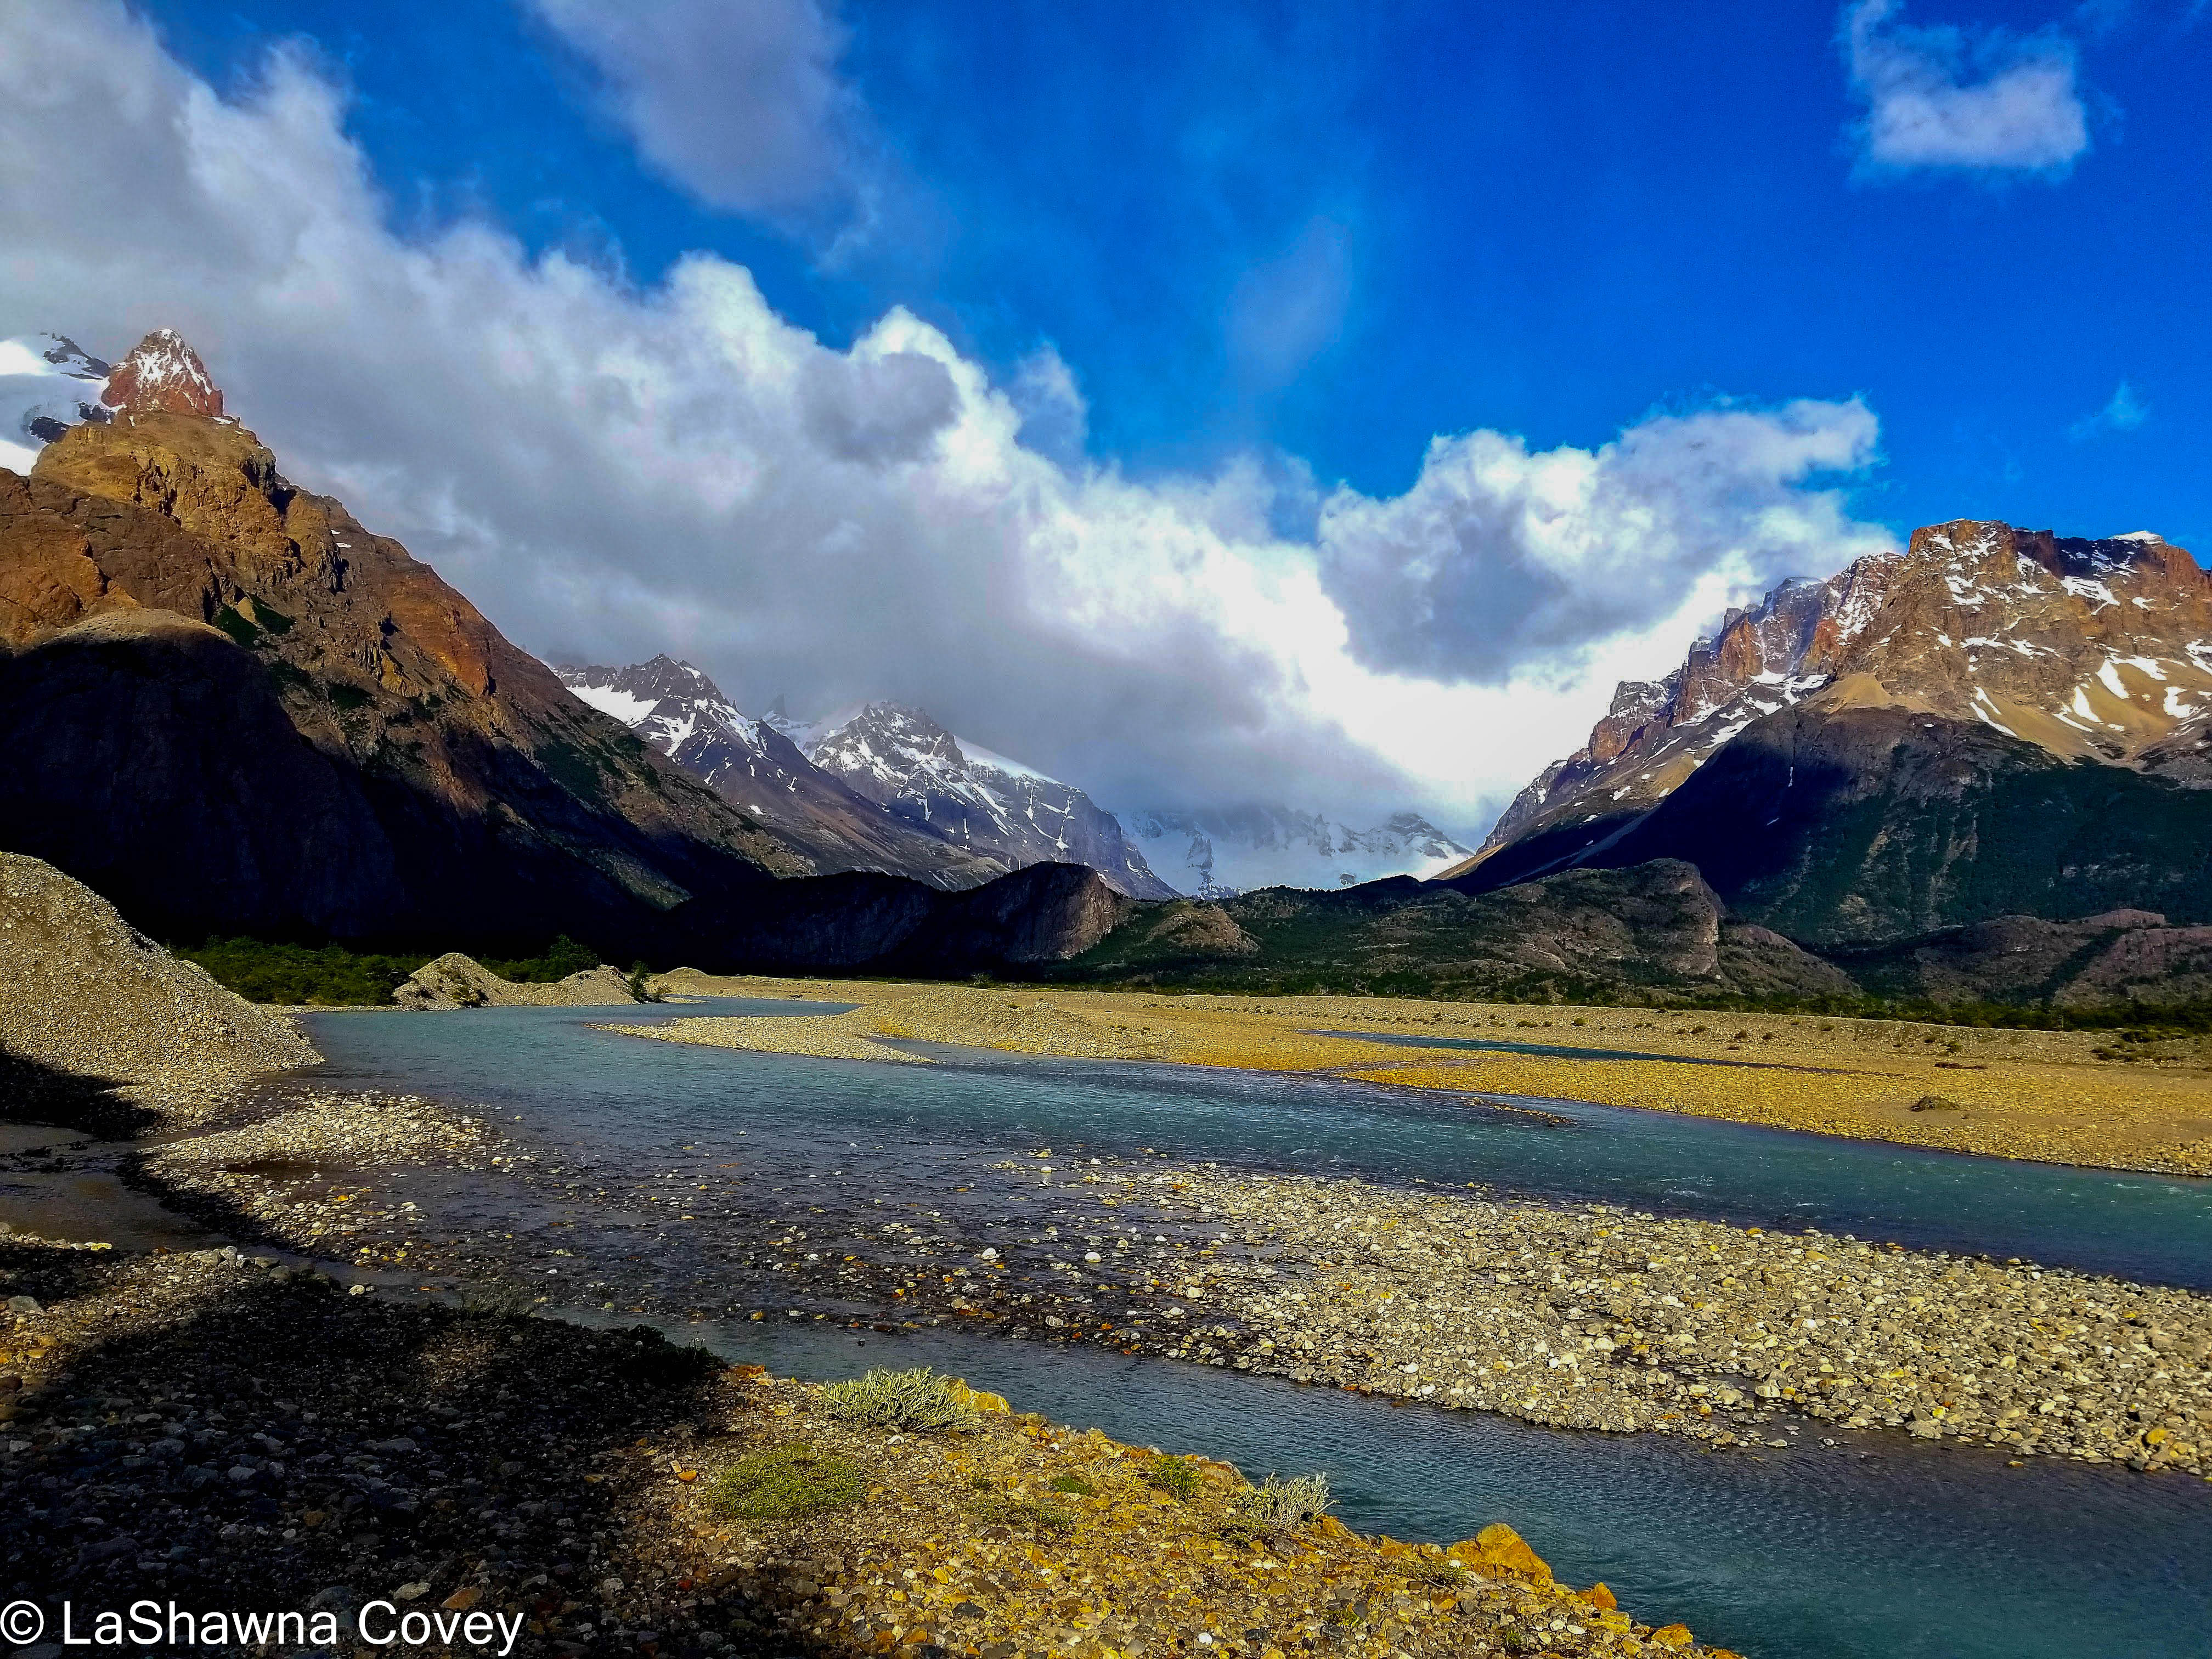
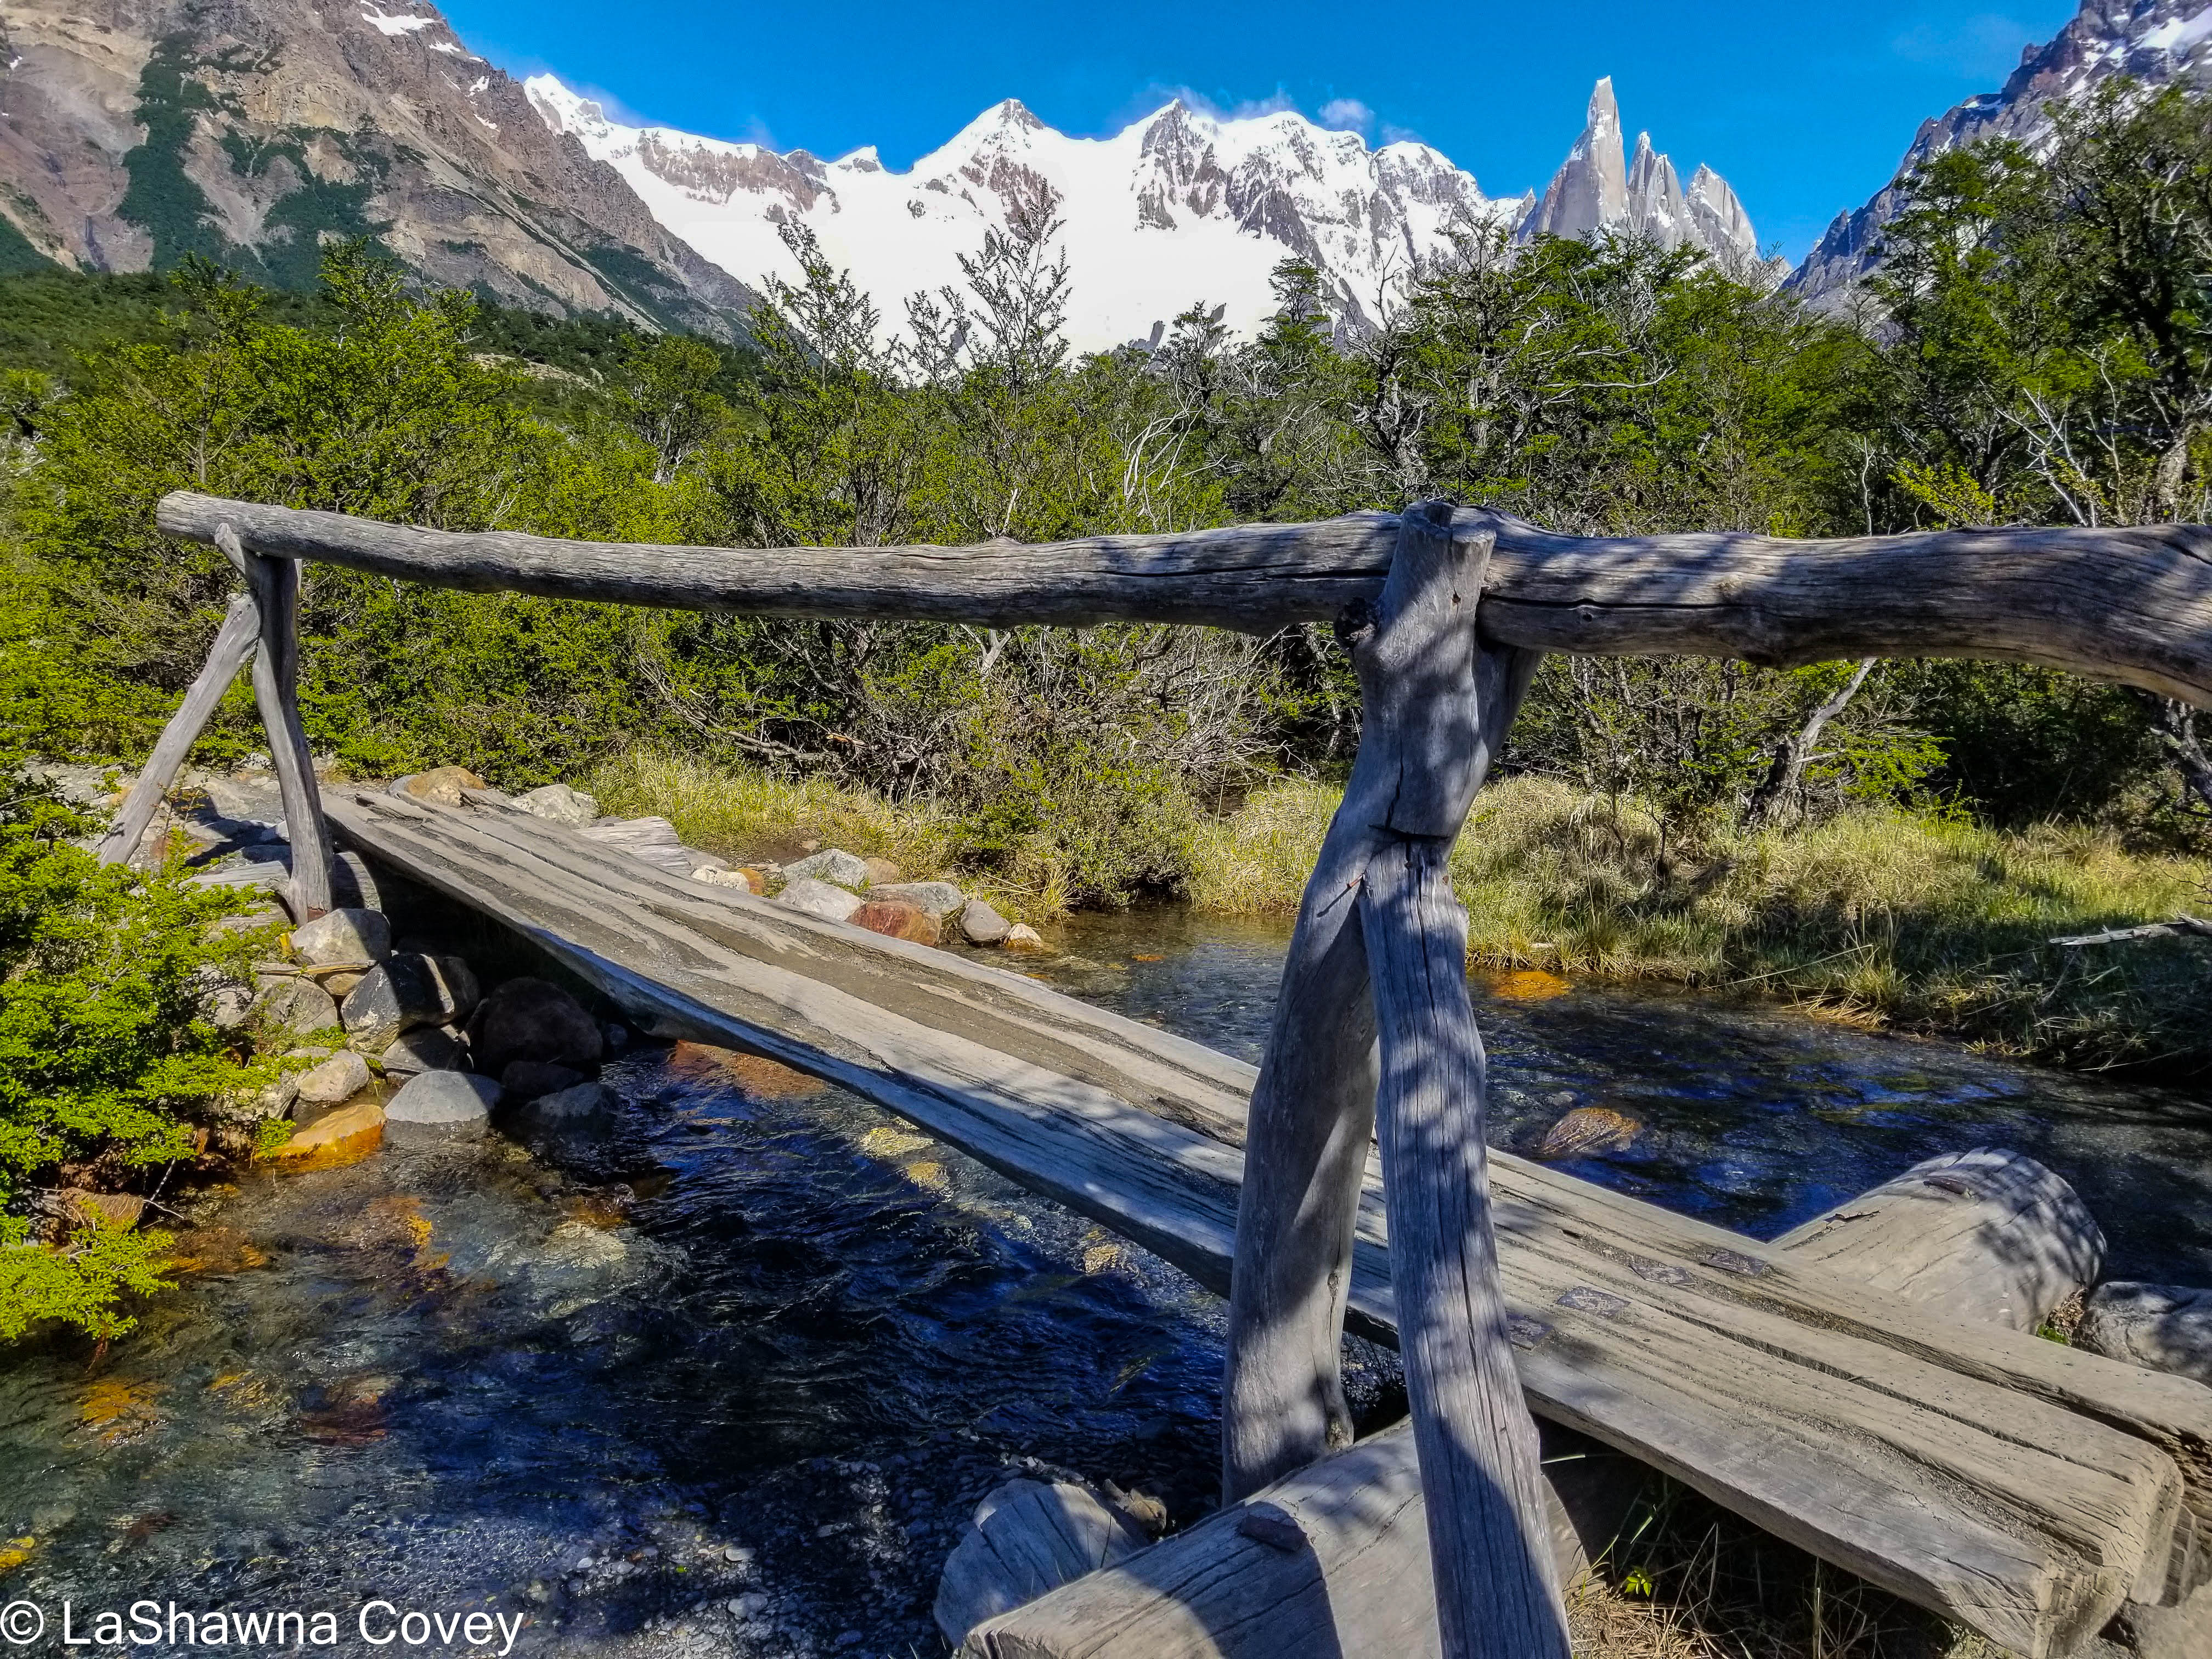
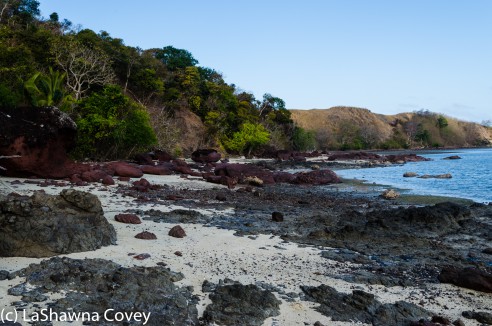
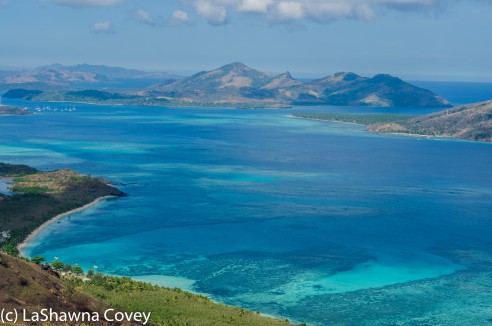
So, if you want a different view of the trail, you can take a shuttle bus or a taxi out near Hosteria El Pilar. This way will take you up a different trail, past some nice glacier viewpoint, and then intersect with the main Laguna de los Tres hiking trail shortly before the trail begins the final ascent to the top. This startpoint is about a 30-minute drive down a gravelly bumpy road that follows the river and passes other camps and hotels along the way. I knew I was getting close when I saw the sign for Hosteria El Pilar, but then was surprised when my taxi kept going a bit further down the road. At one point, the trailhead was basically on the property of the hosteria, but when I went, it was a bit off it. I am guessing the owners of the hosteria didn’t want a bunch of strangers tramping through their property, but I don’t know. Maybe there were some issues with the trail from the hosteria, and the way needed to be rerouted for a bit. My taxi driver dropped me off right by the bridge and pointed me in the right direction. The trail is marked with yellow markers every so often, just so you don’t wander off, because the terrain is open enough, where it could be easy to do since the trail isn’t always distinct. The view is pretty expansive at this point, and you are surrounded by mountains, trees, and river. It was a great way to start the morning, even if I was trailing a large group of hikers.

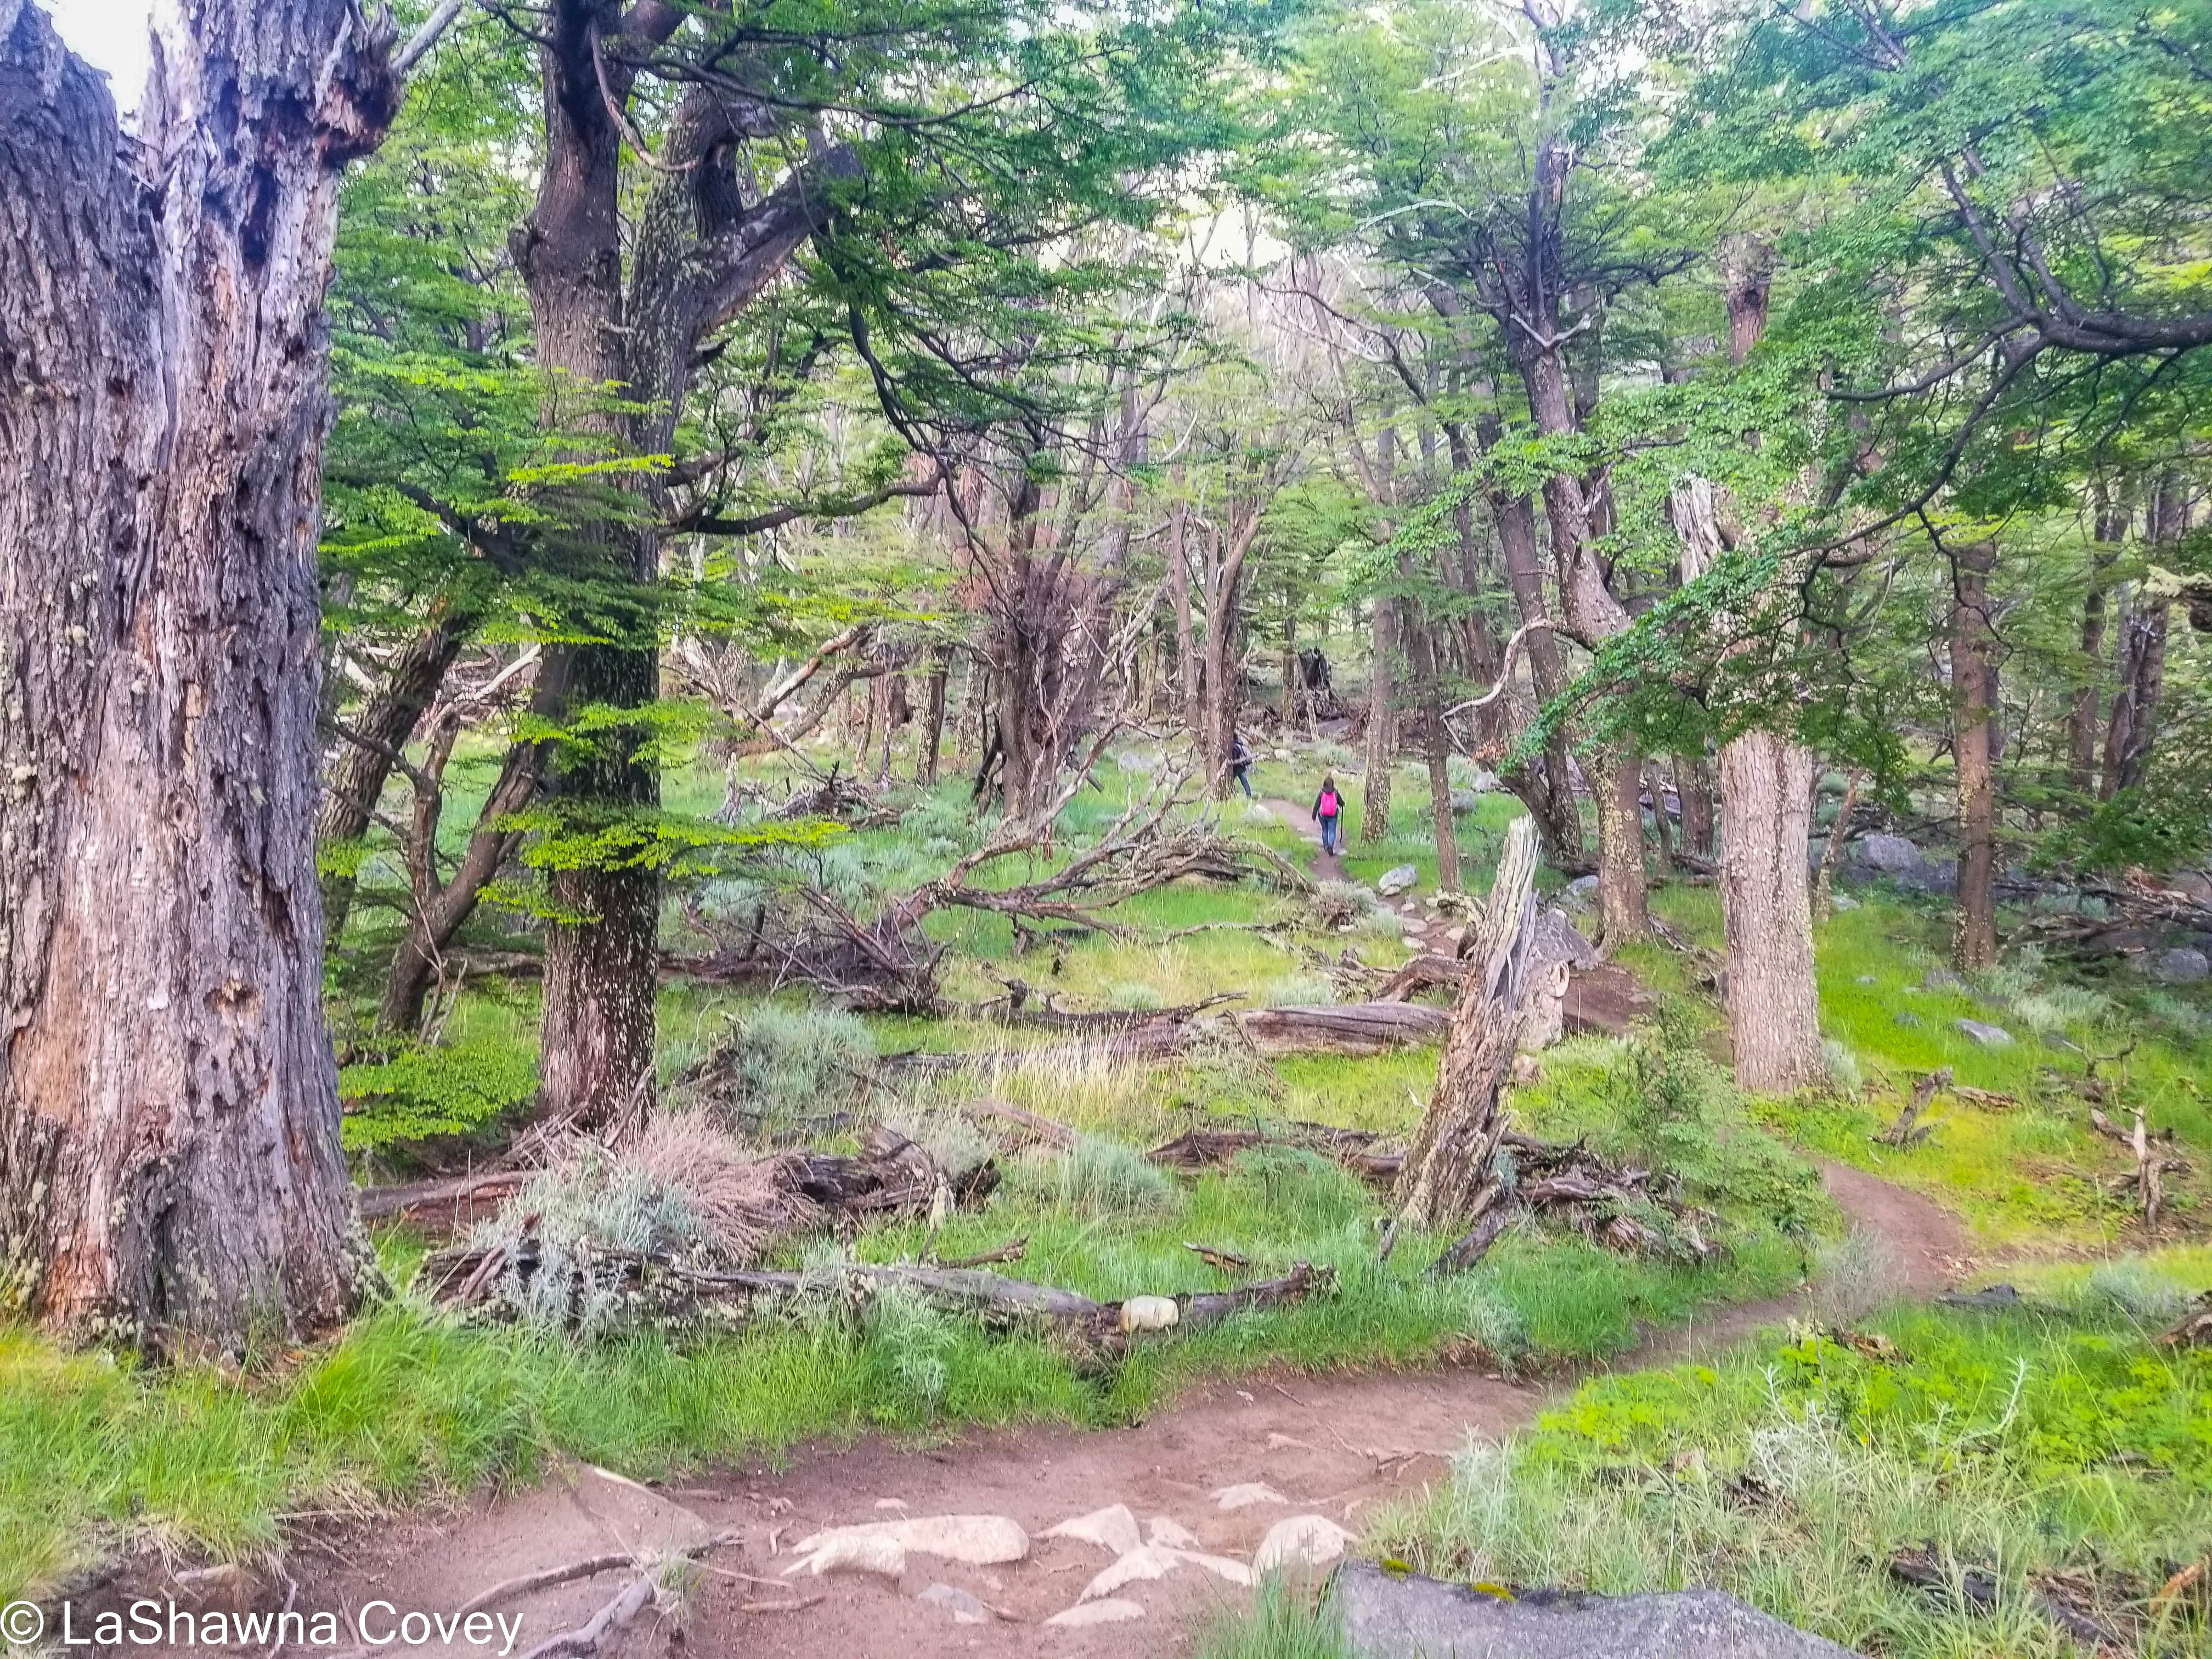
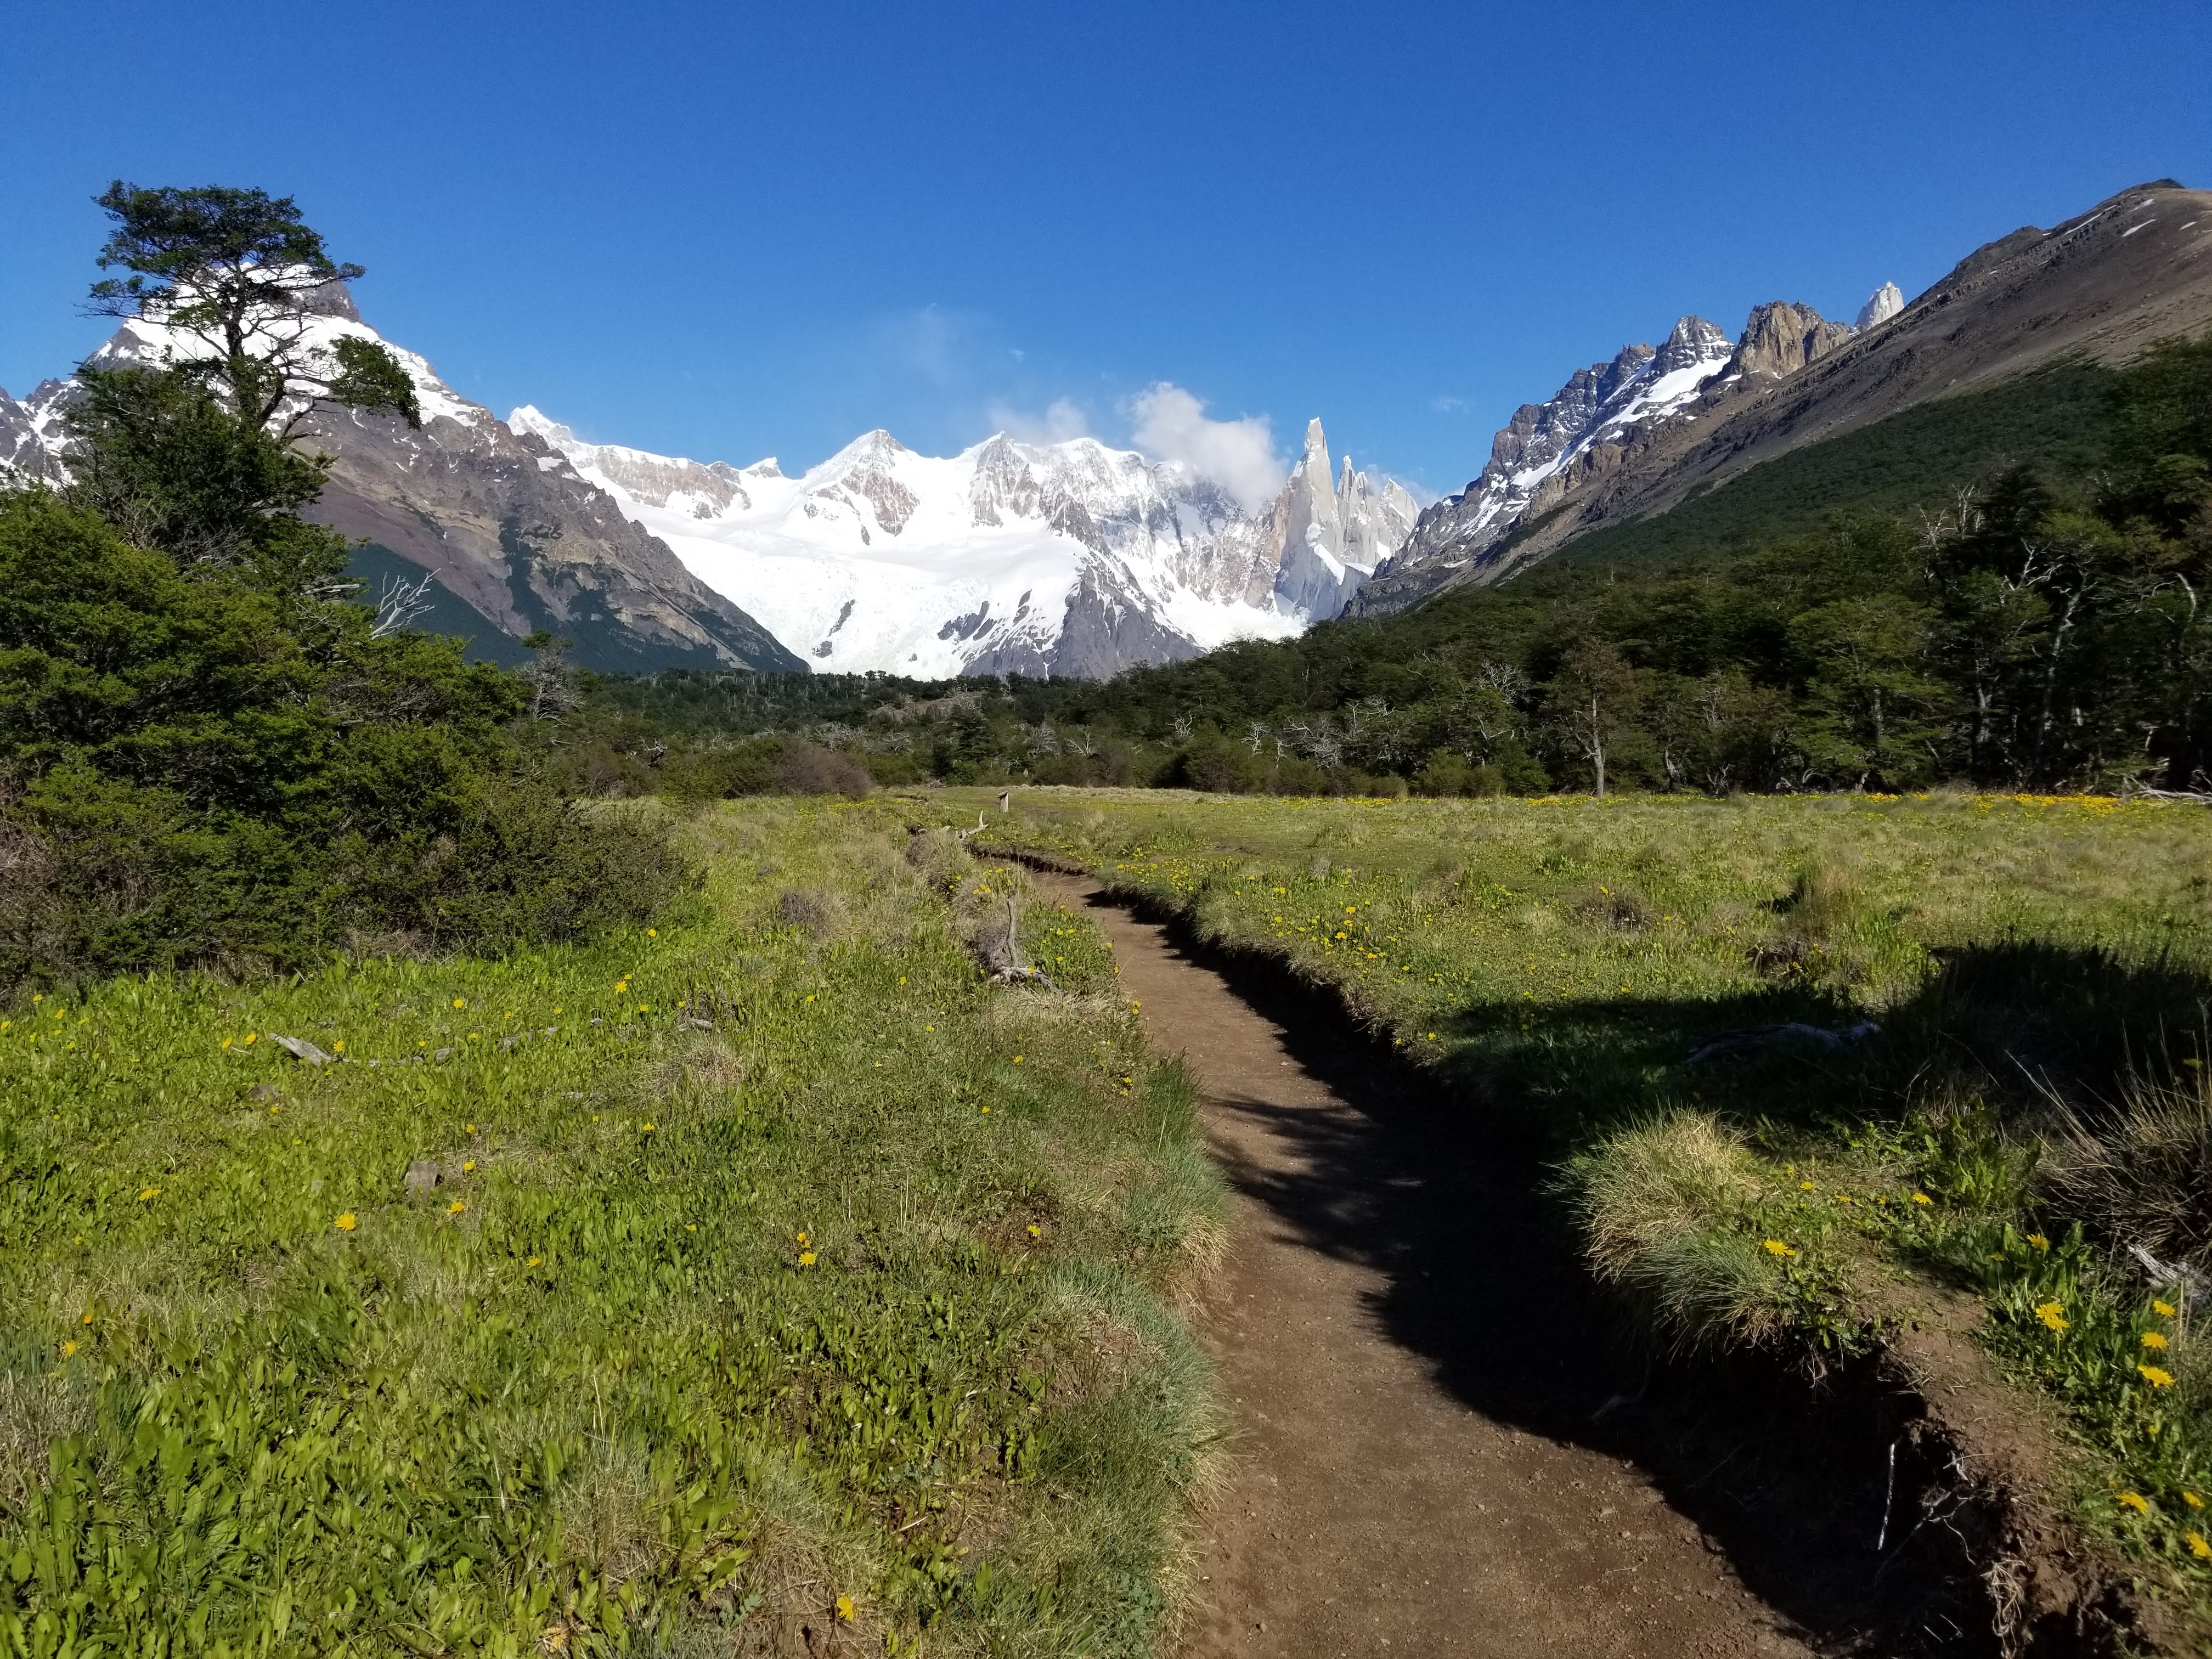
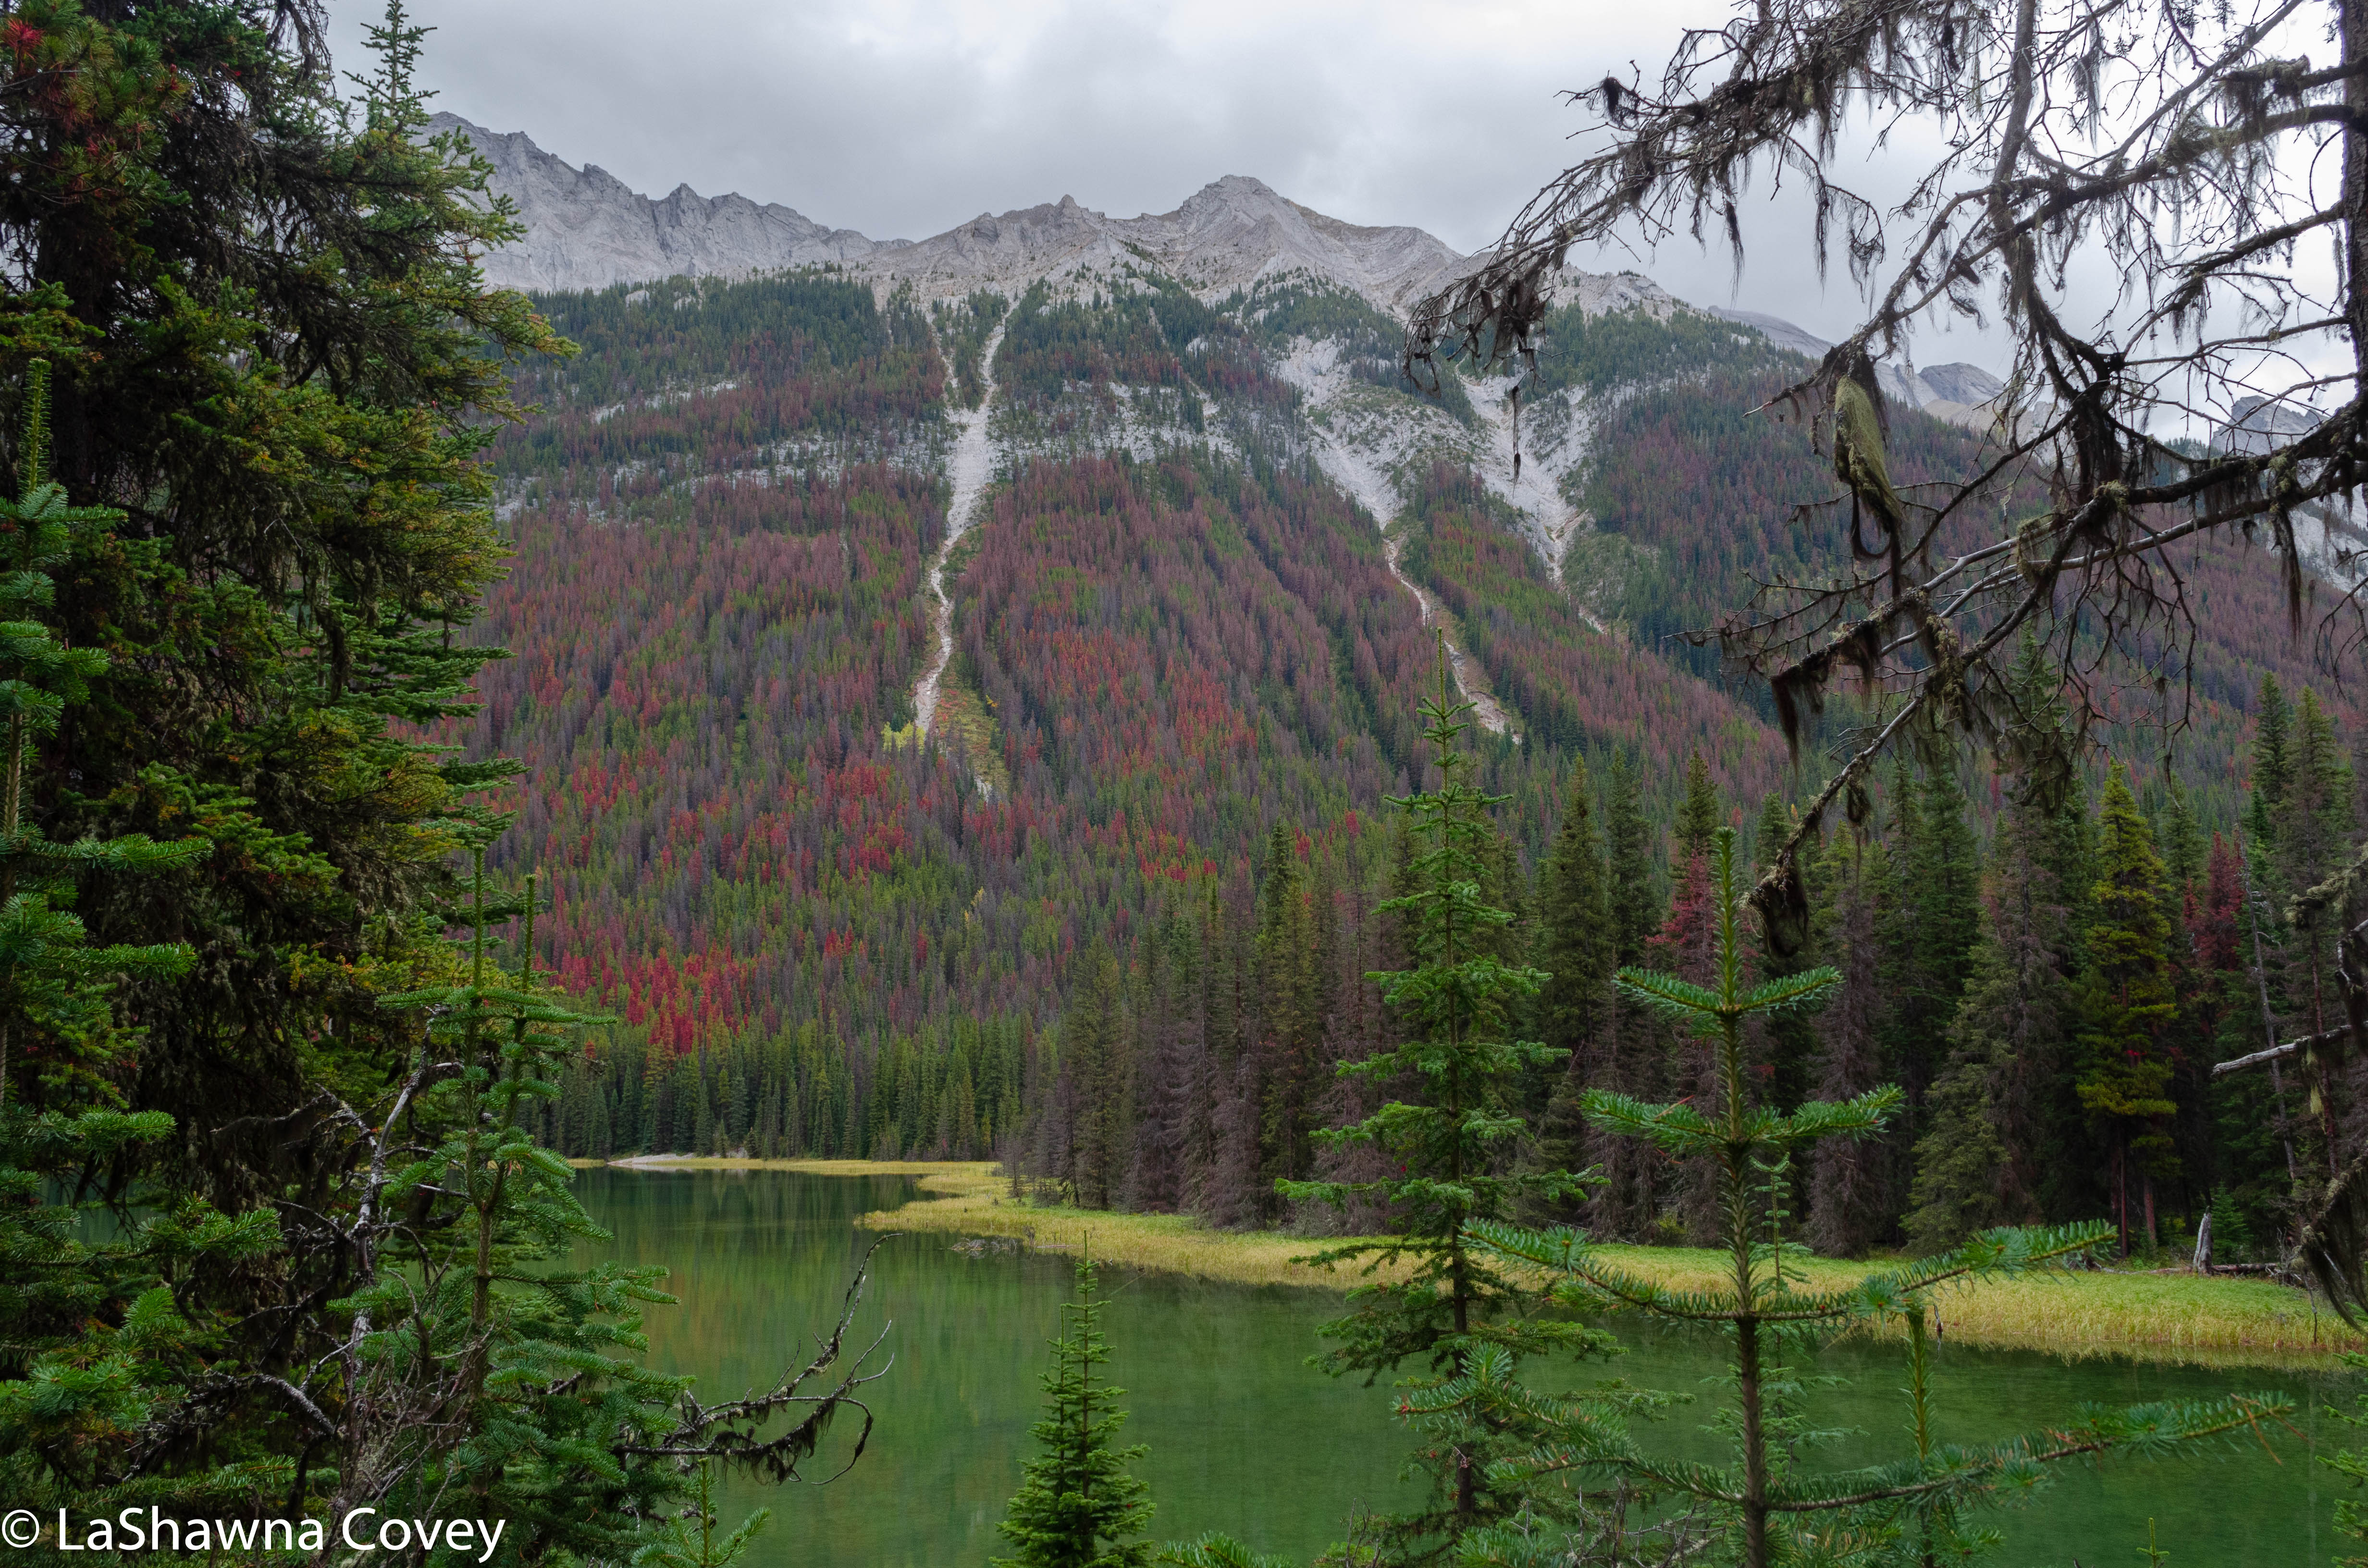
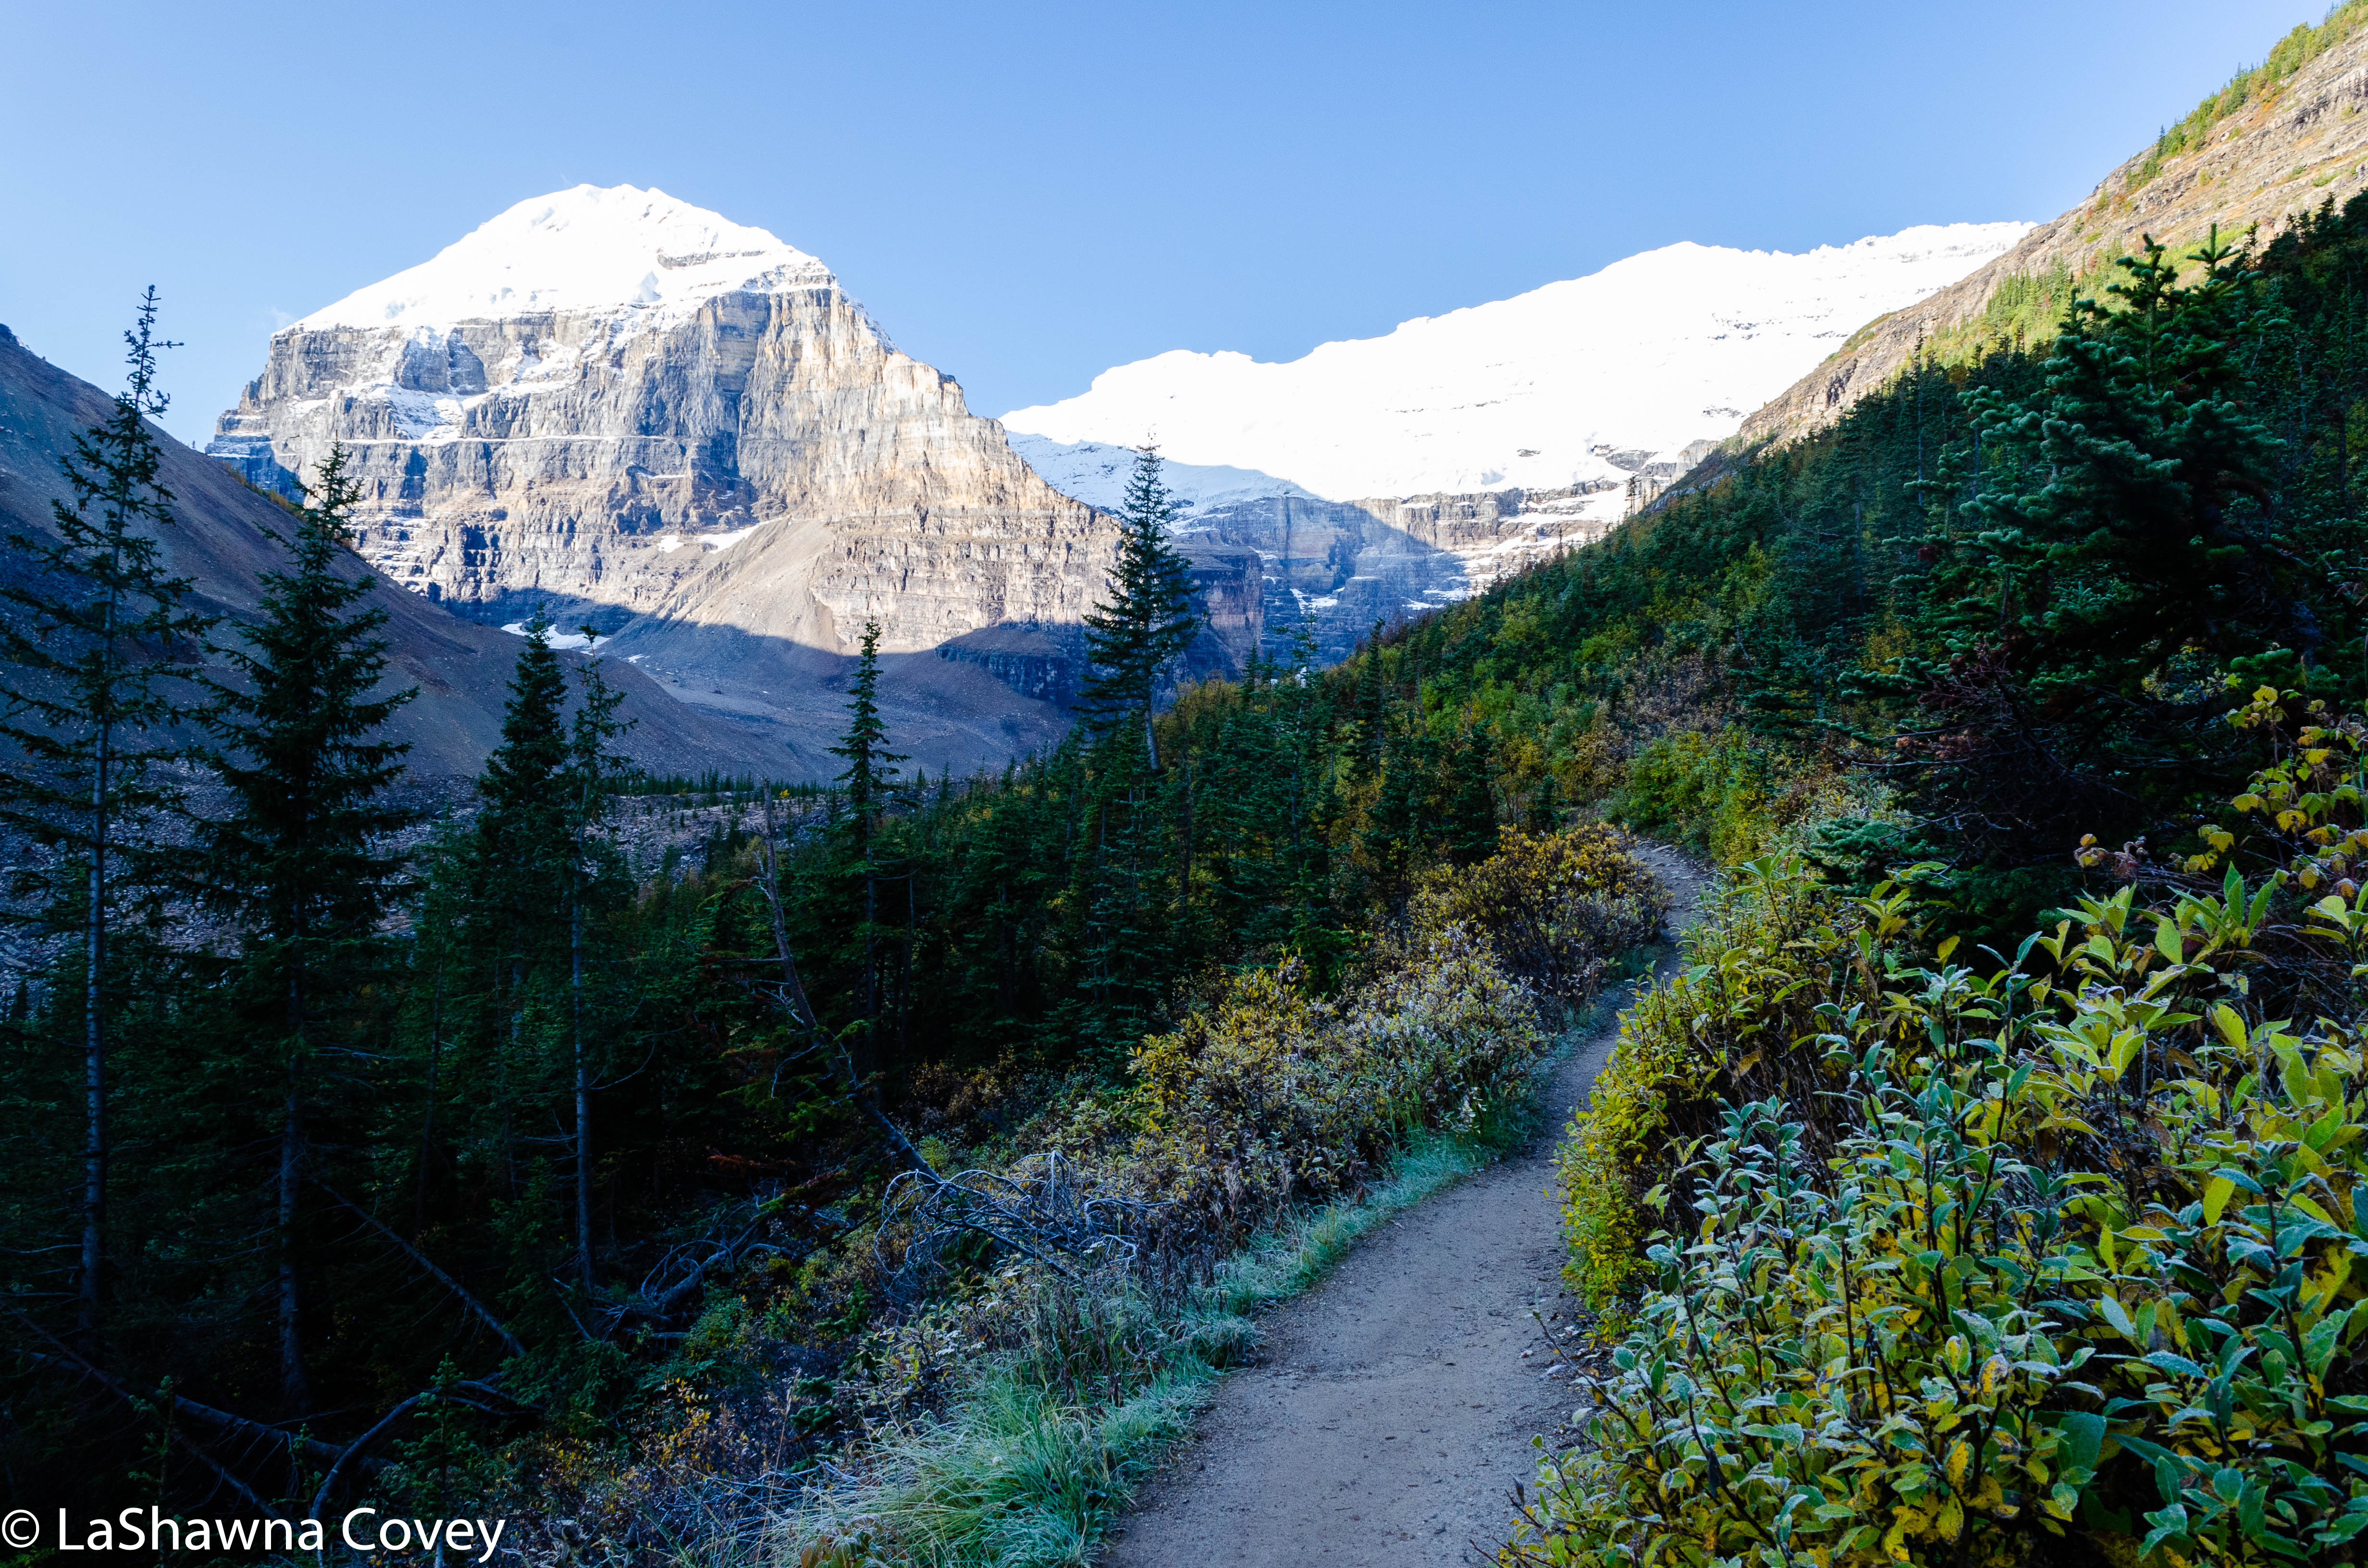
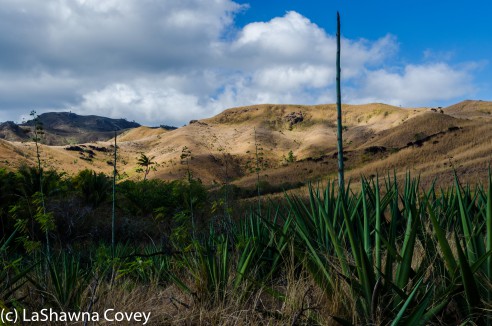
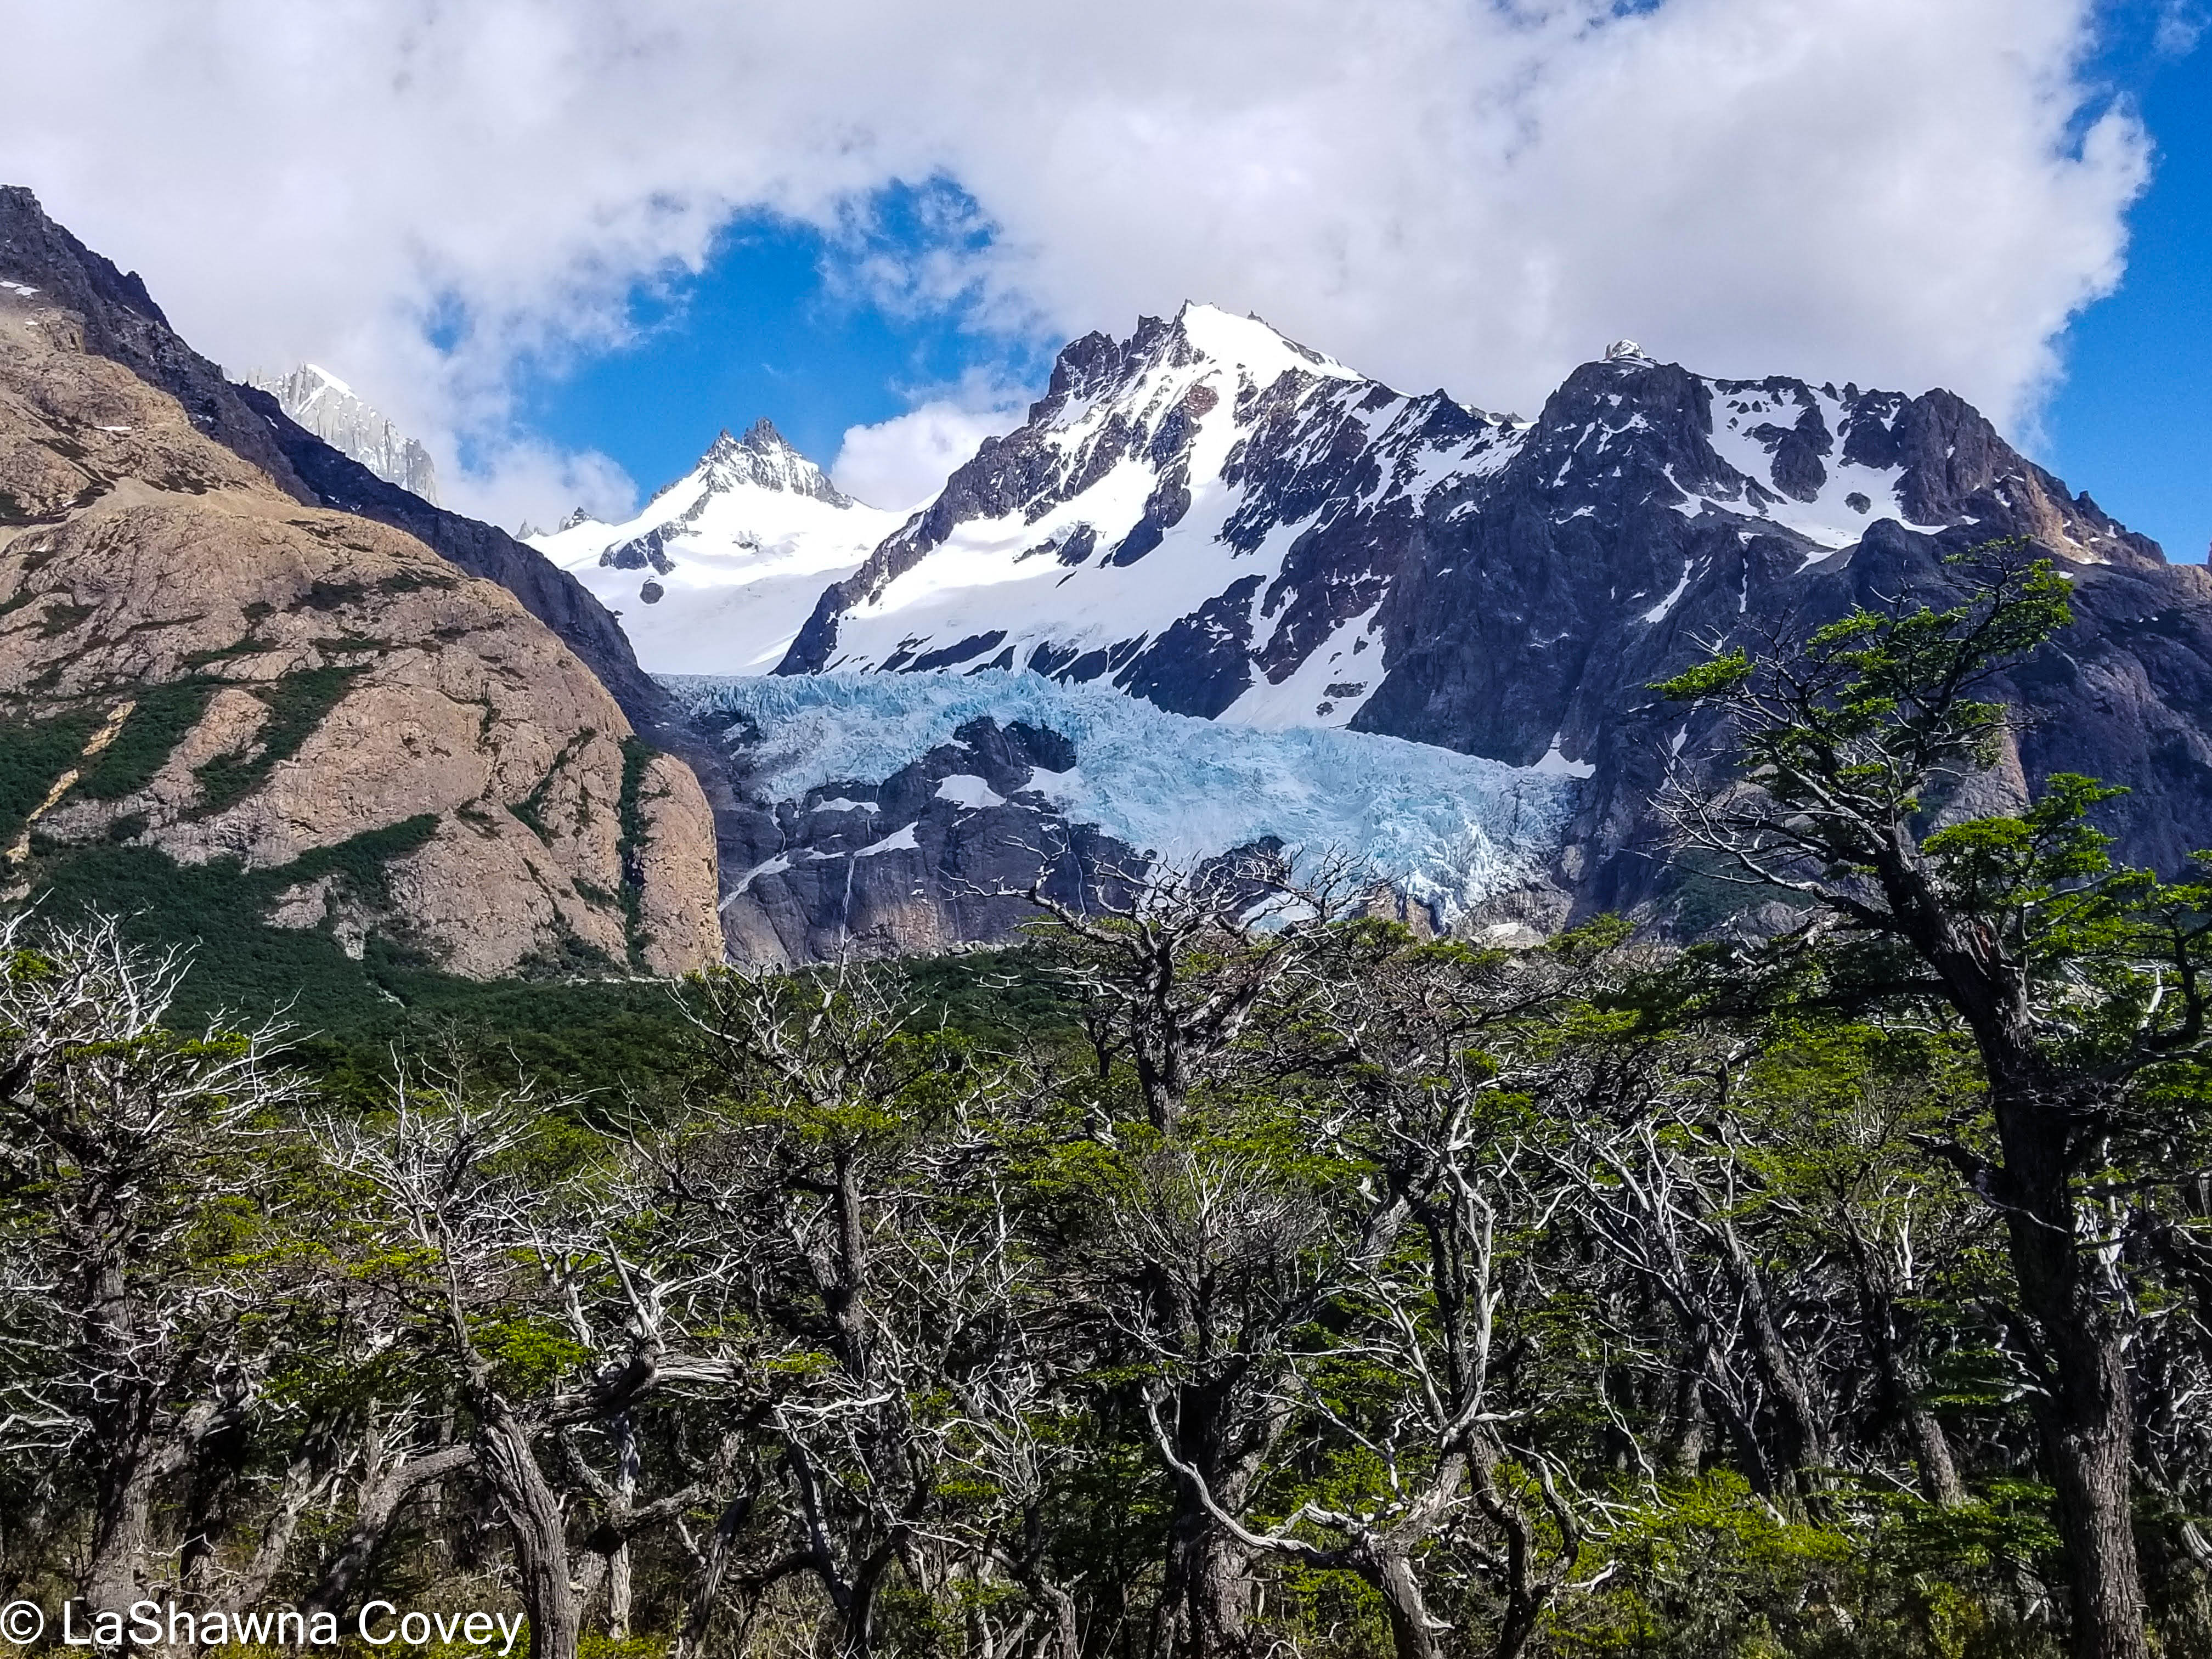
The first part of the hike wends its way through flat terrain and bushes near the river, but eventually crosses the river and turns up. After a short steep climb, I was back on the actual trail that started at Hosteria El Pilar. This trail is very clearly defined and marked with red markers. It climbs steadily upward, though I didn’t find the elevation gain too taxing. Sure I had to take breaks, but I wasn’t out of breath or anything. For this part of the trail, the view is nice forest, but it isn’t radically different from other forest hikes I have done. The first part where that changes is the viewpoint for Glacier Piedras Blancas and its lagoon. It is a small view, but it is a very nice view of the mountains, and a small glacier. By this point, tour groups were congregating on the trail, and I was trying to make sure that I had enough space to myself.

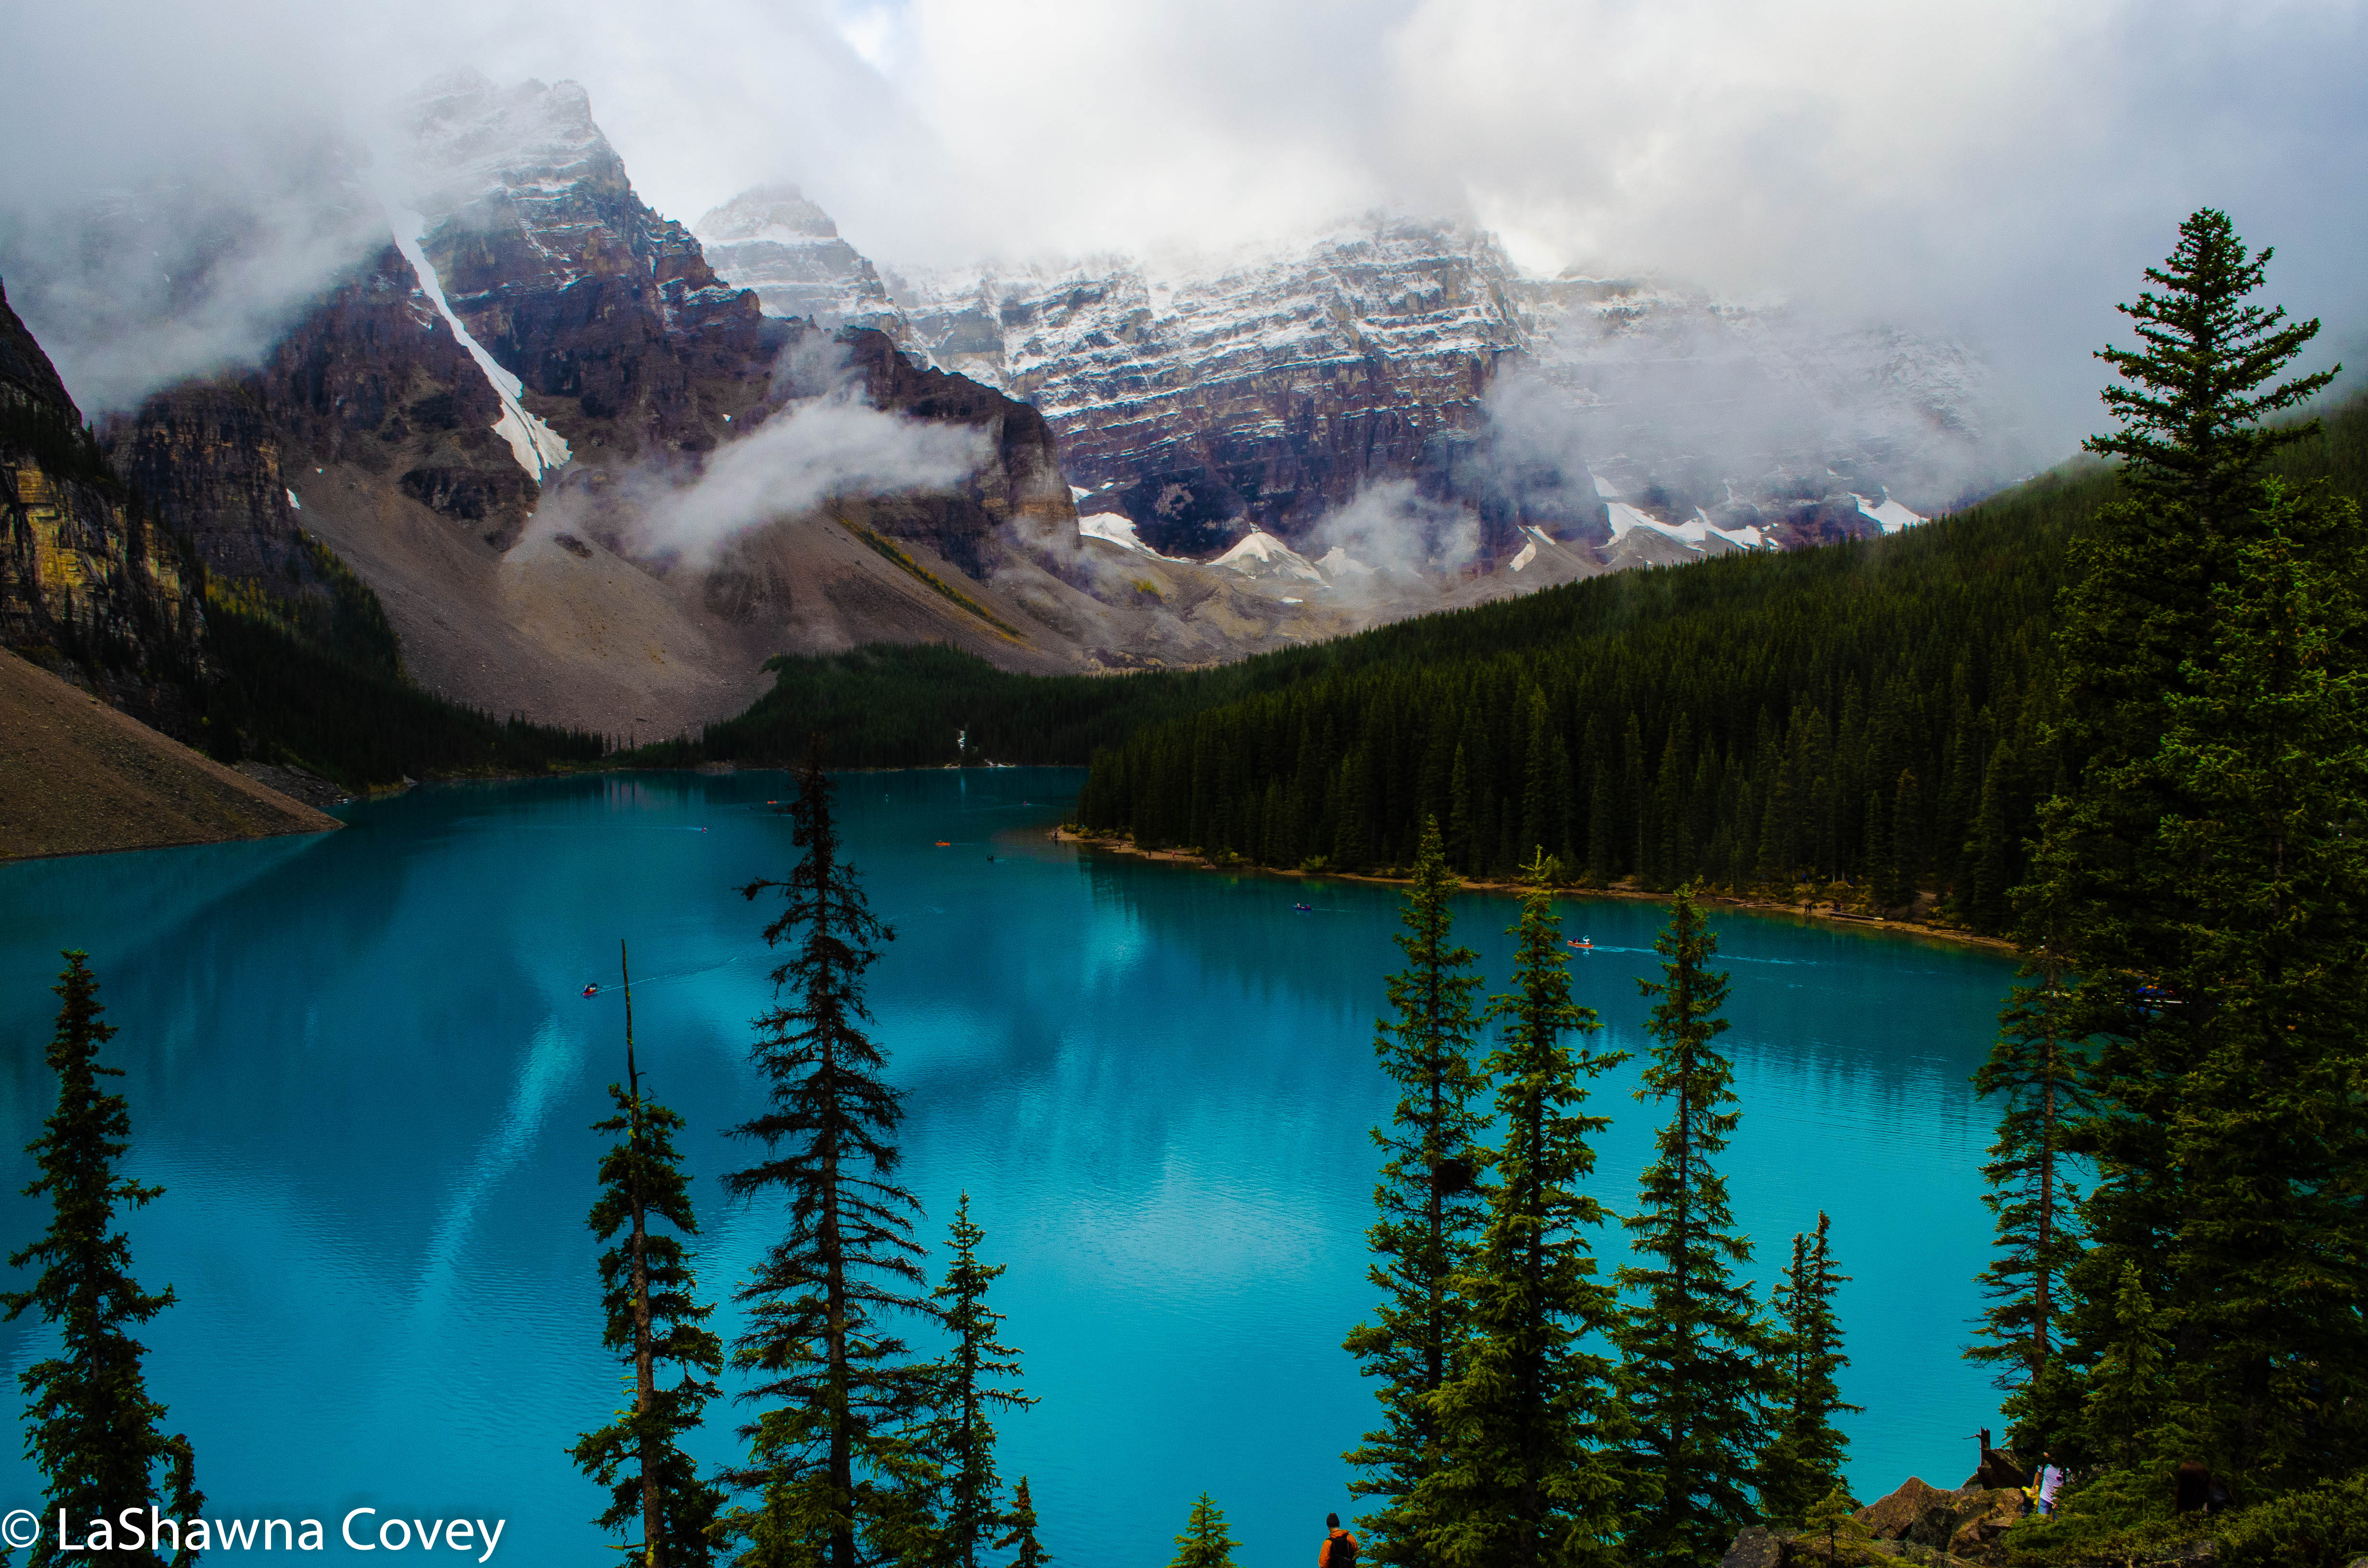
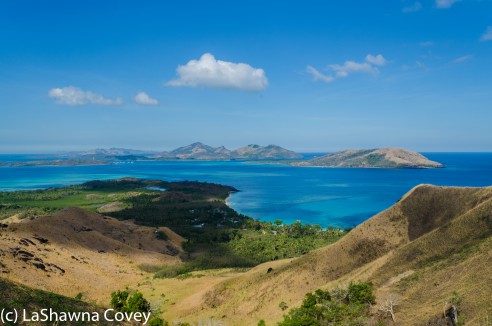
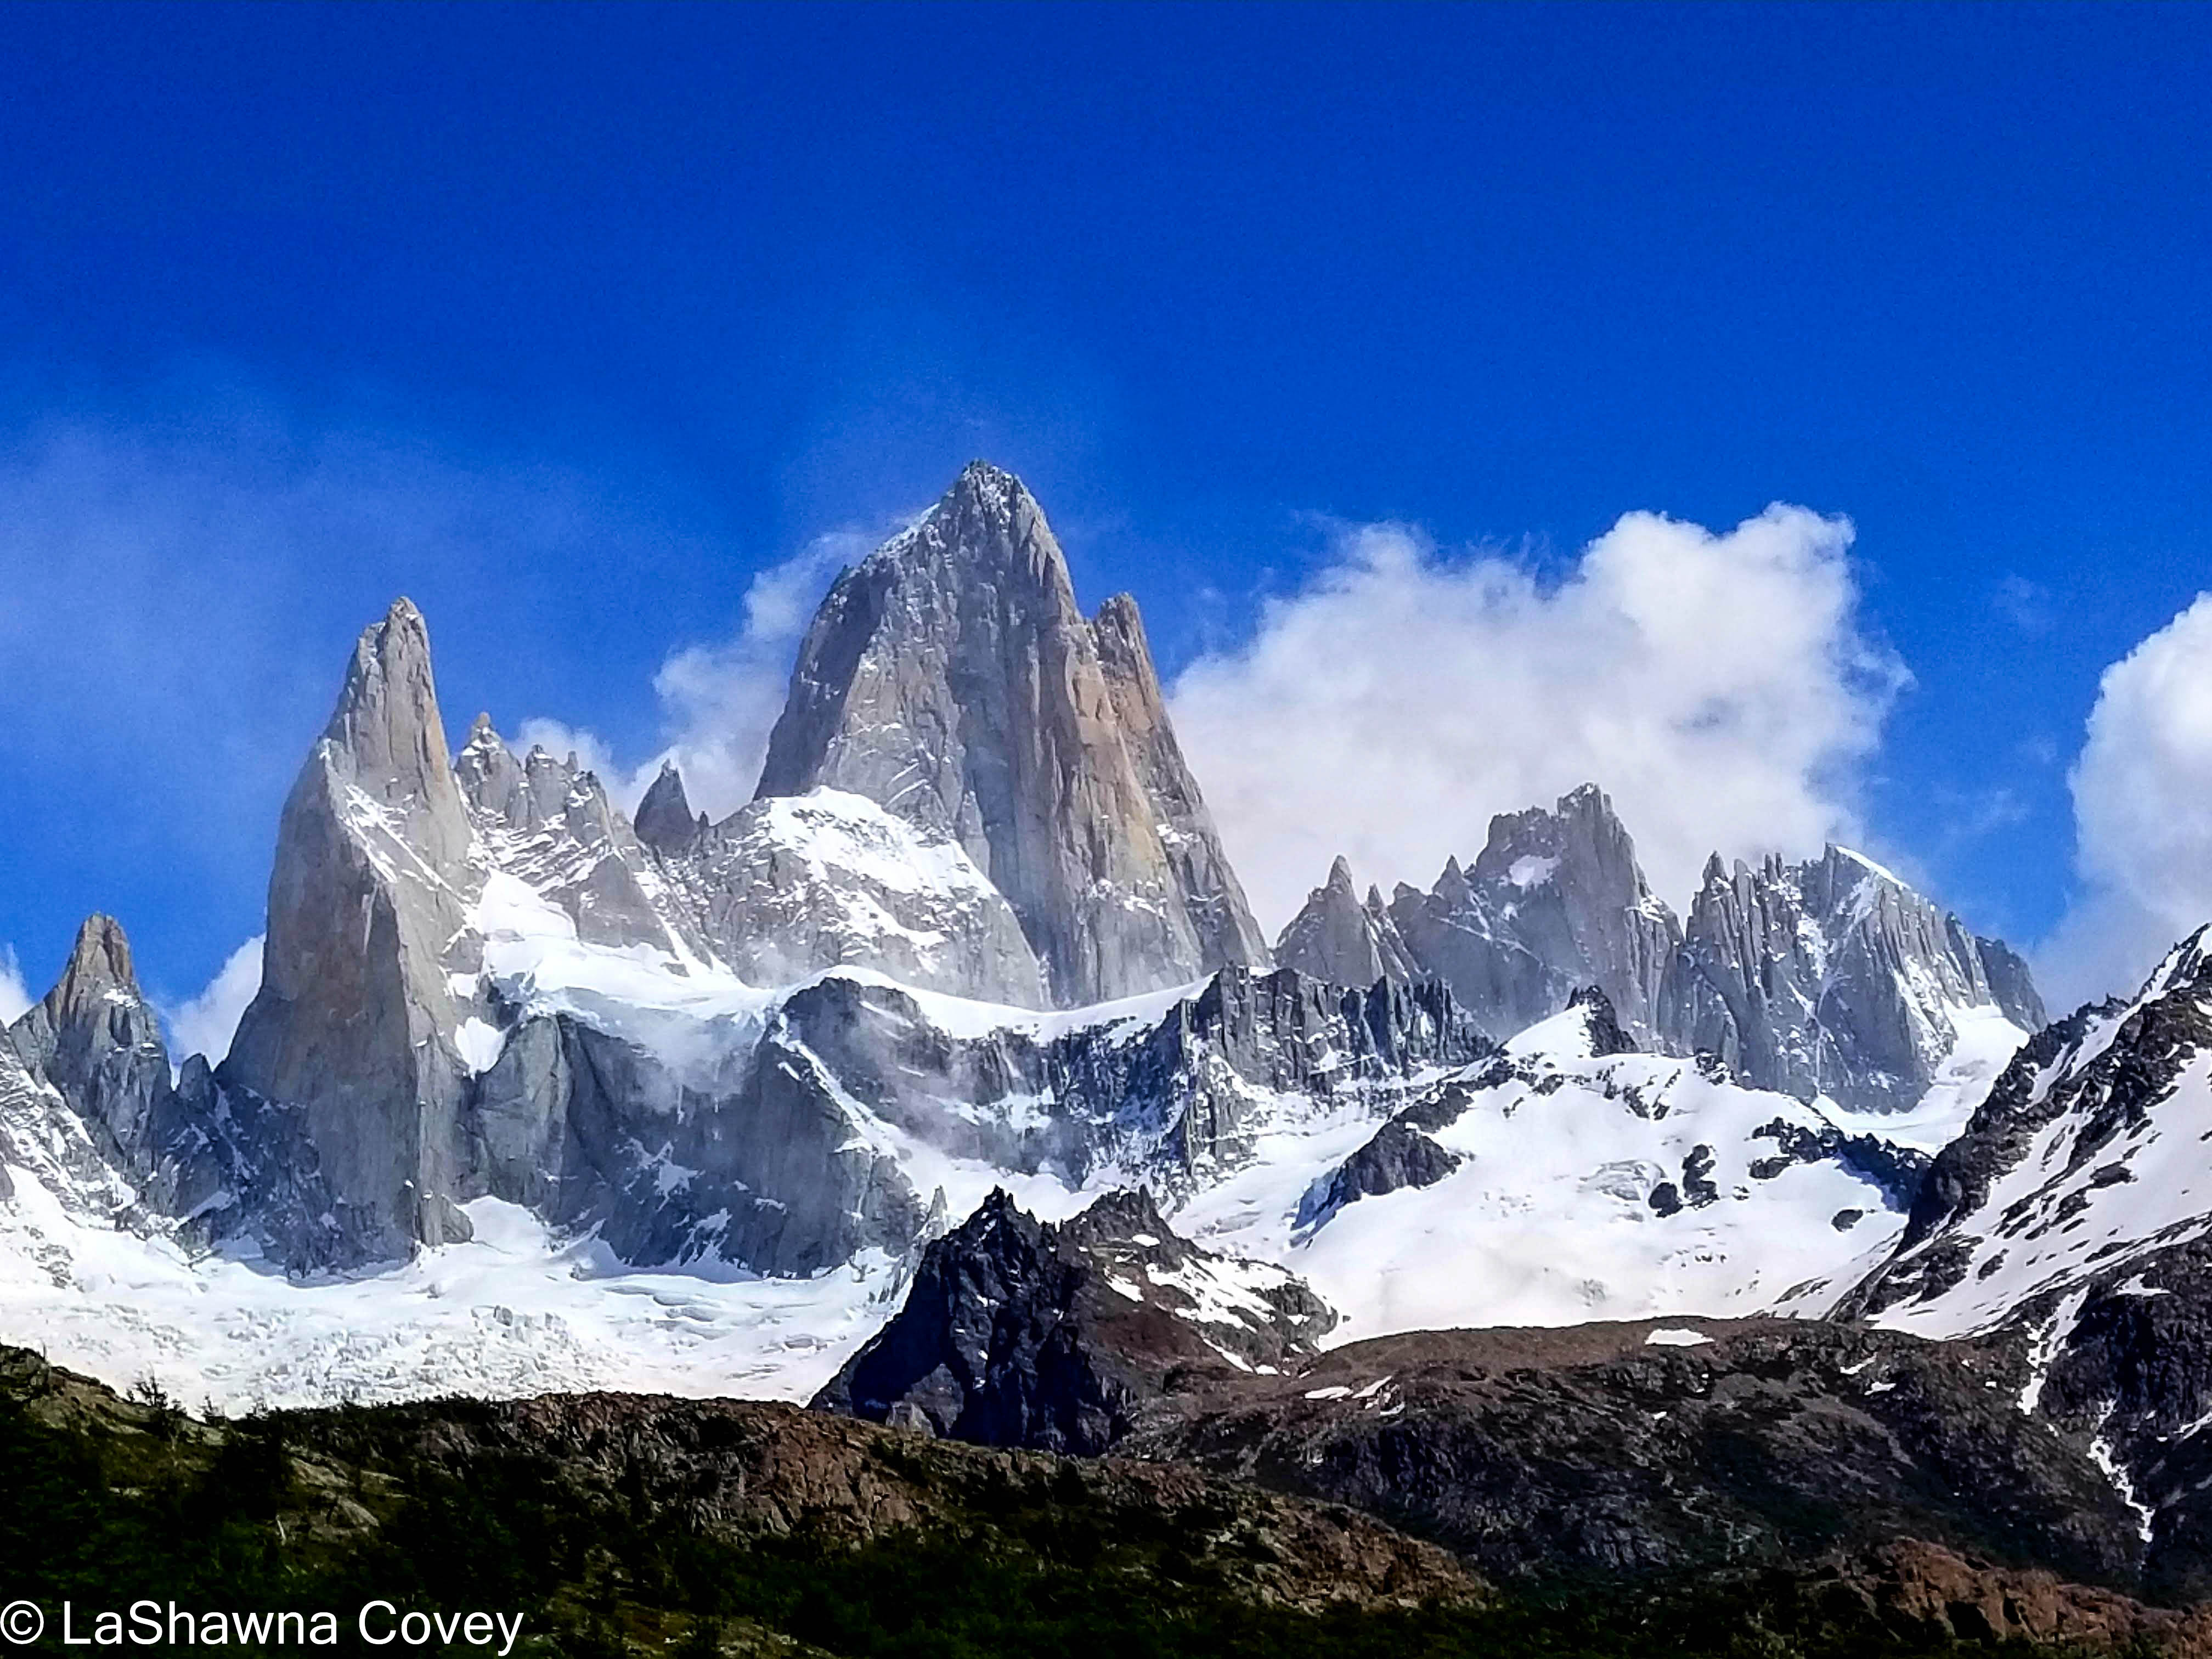
After the viewpoint, the trail keeps ascending, but again, the trail is not that steep. Eventually it flattens out and opens up in a wide field where I was able to get the first view of the mountaintop of Cerro Fitzroy (shrouded partly in clouds), and the surrounding landscape. The trail isn’t the most obvious at this point, but still navigable with the occasional red markers, and you know when you intersect with the main trail around the Rio Blanco checkpoint, not far from the Poincenot camping site. I took a long break letting my feet rest as I drank in the view of the mountains. The clouds weren’t thick that day, but they kept teasing me by hiding the top of Cerro Fitzroy for a while, and then briefly clearing to see its iconic spiky point. I wasn’t in any hurry, because I knew I just had to hike back to El Chalten. By this point, it was mid day, and the steady stream of hiking pairs and groups passed me as they were headed to the top.

Once I was rested enough, I took the main trail back to El Chalten. At this point, I only had about eight kilometers left, but my legs were definitely tired after yesterday’s long hike. Luckily the trail is fairly flat and level, so it was easy on the body. I made sure to turn around frequently, because the only bad part of hiking the trail the way I did, is that the mountain views were behind me and not in front. But I stopped enough to get my fill of the view before continuing down the trail. The wind at time was super fierce, and I was glad I was not at the top of the hike.


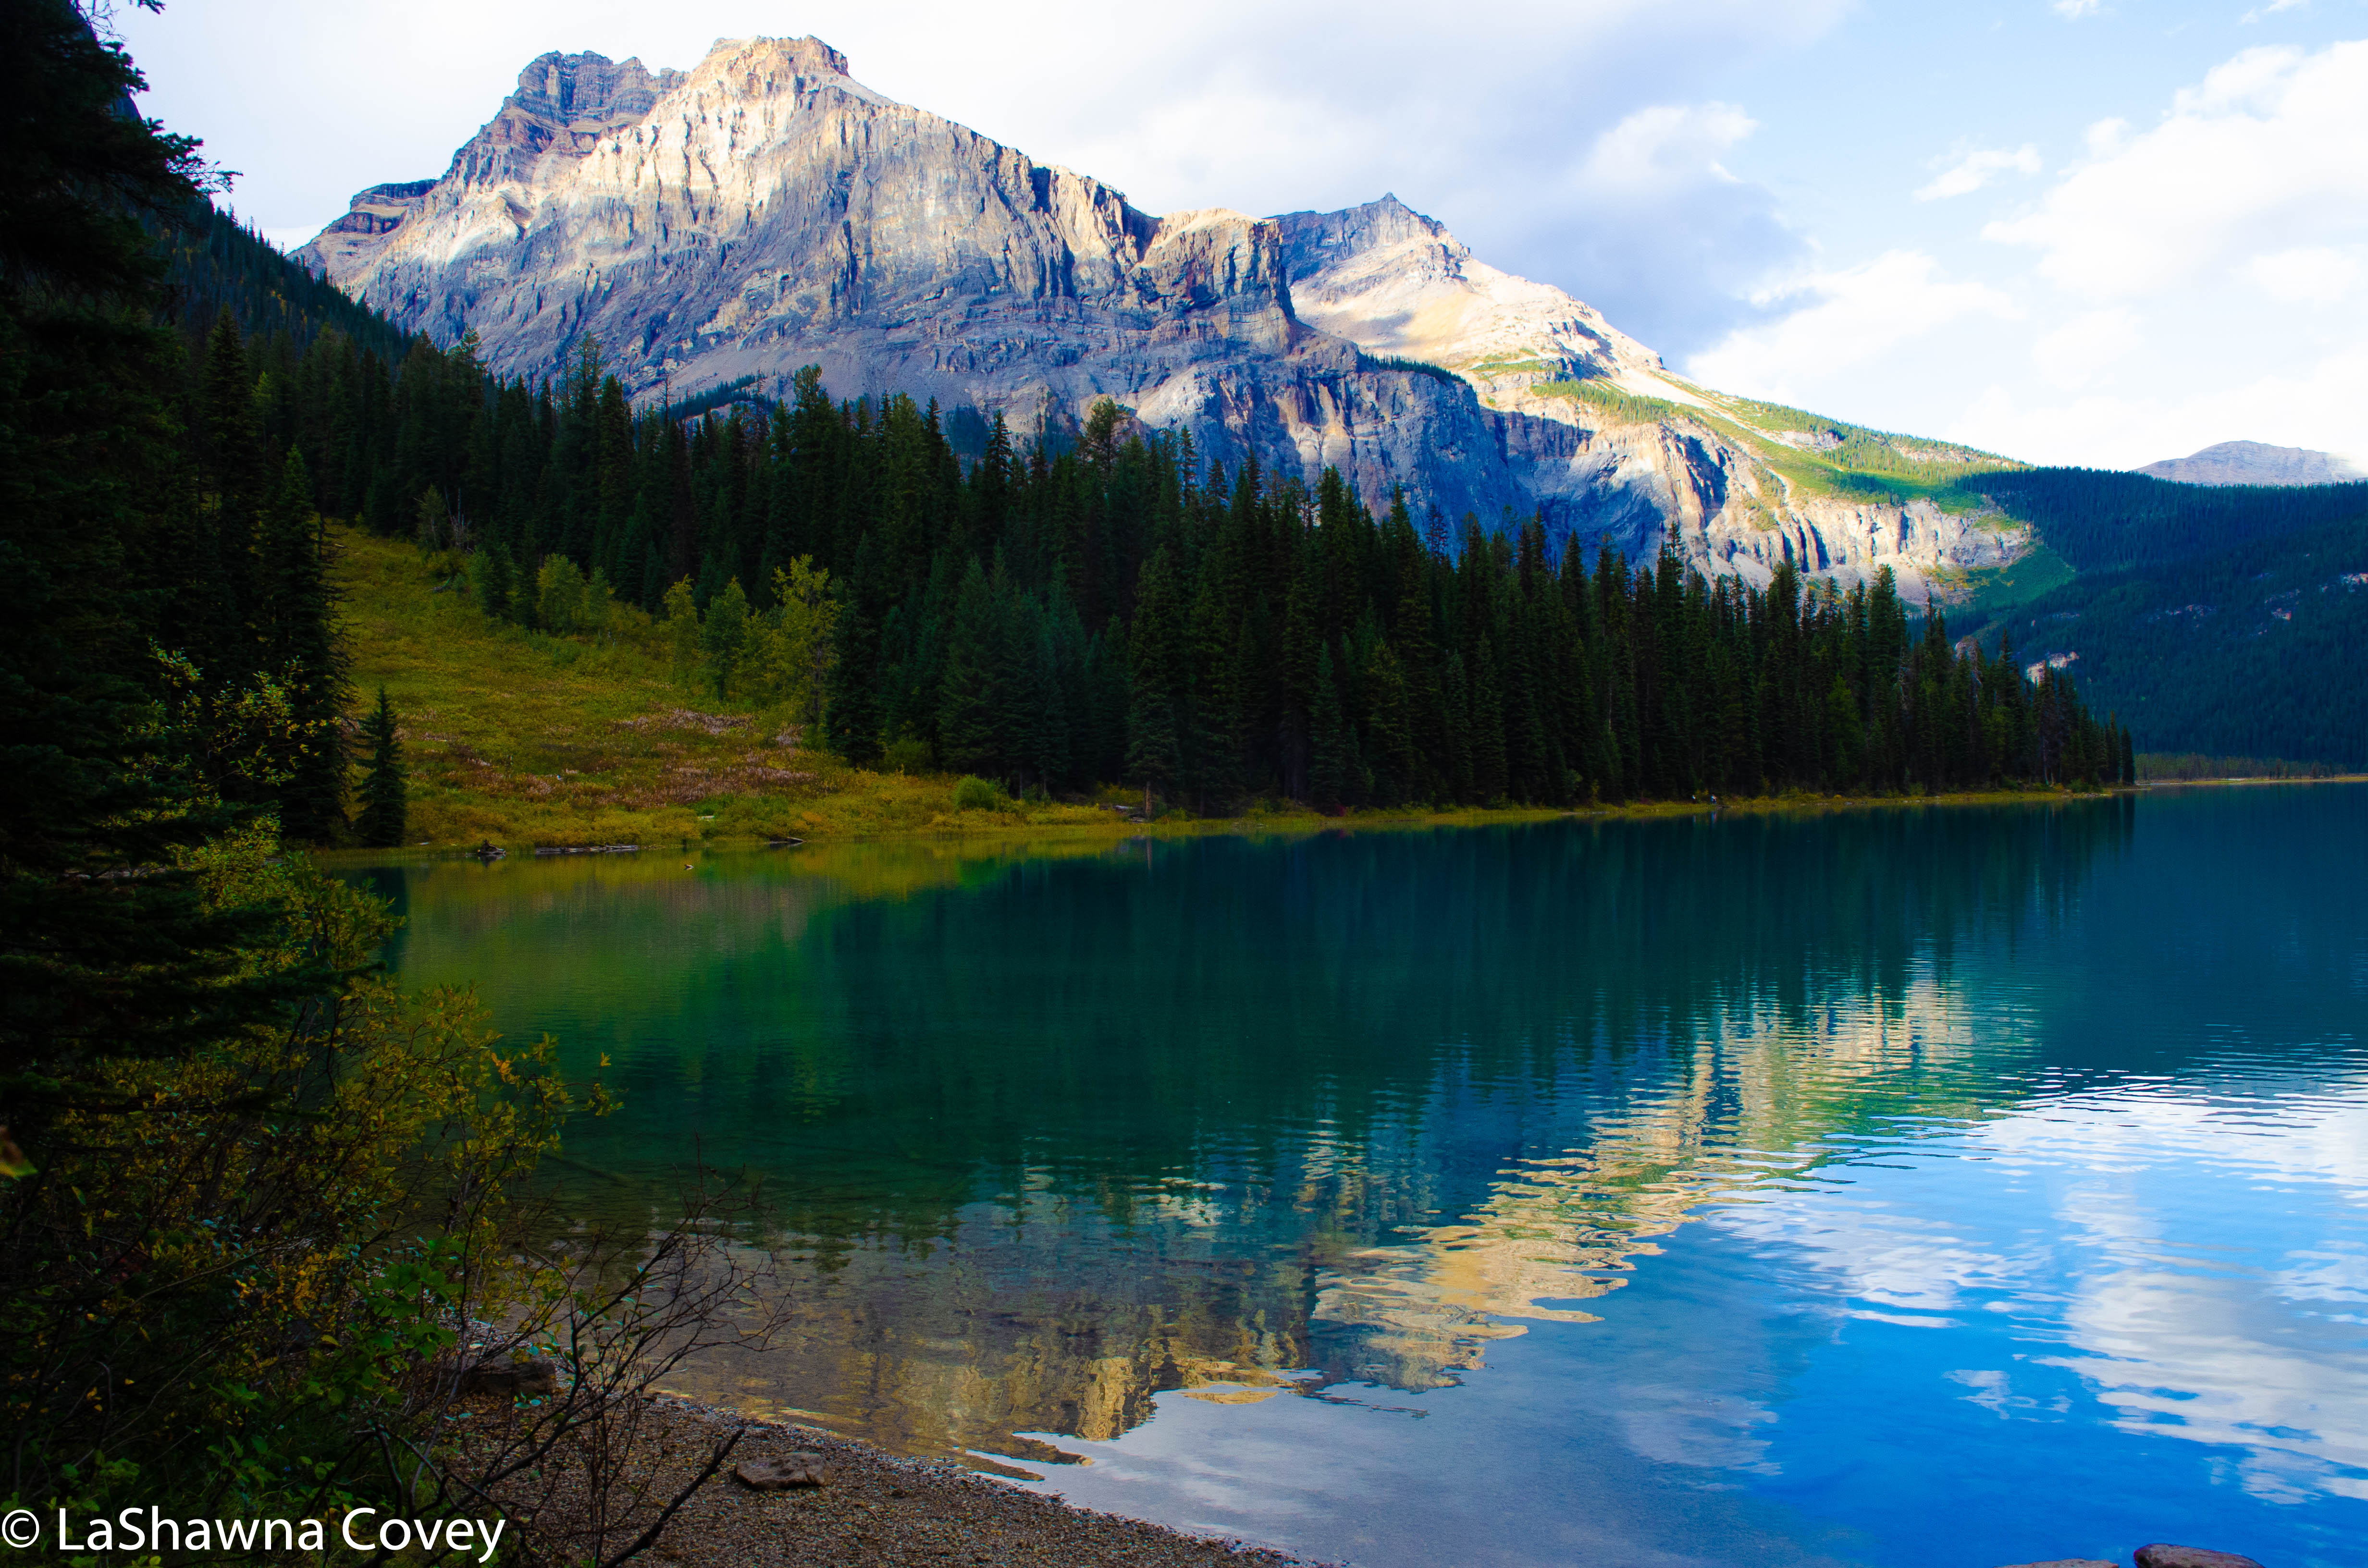
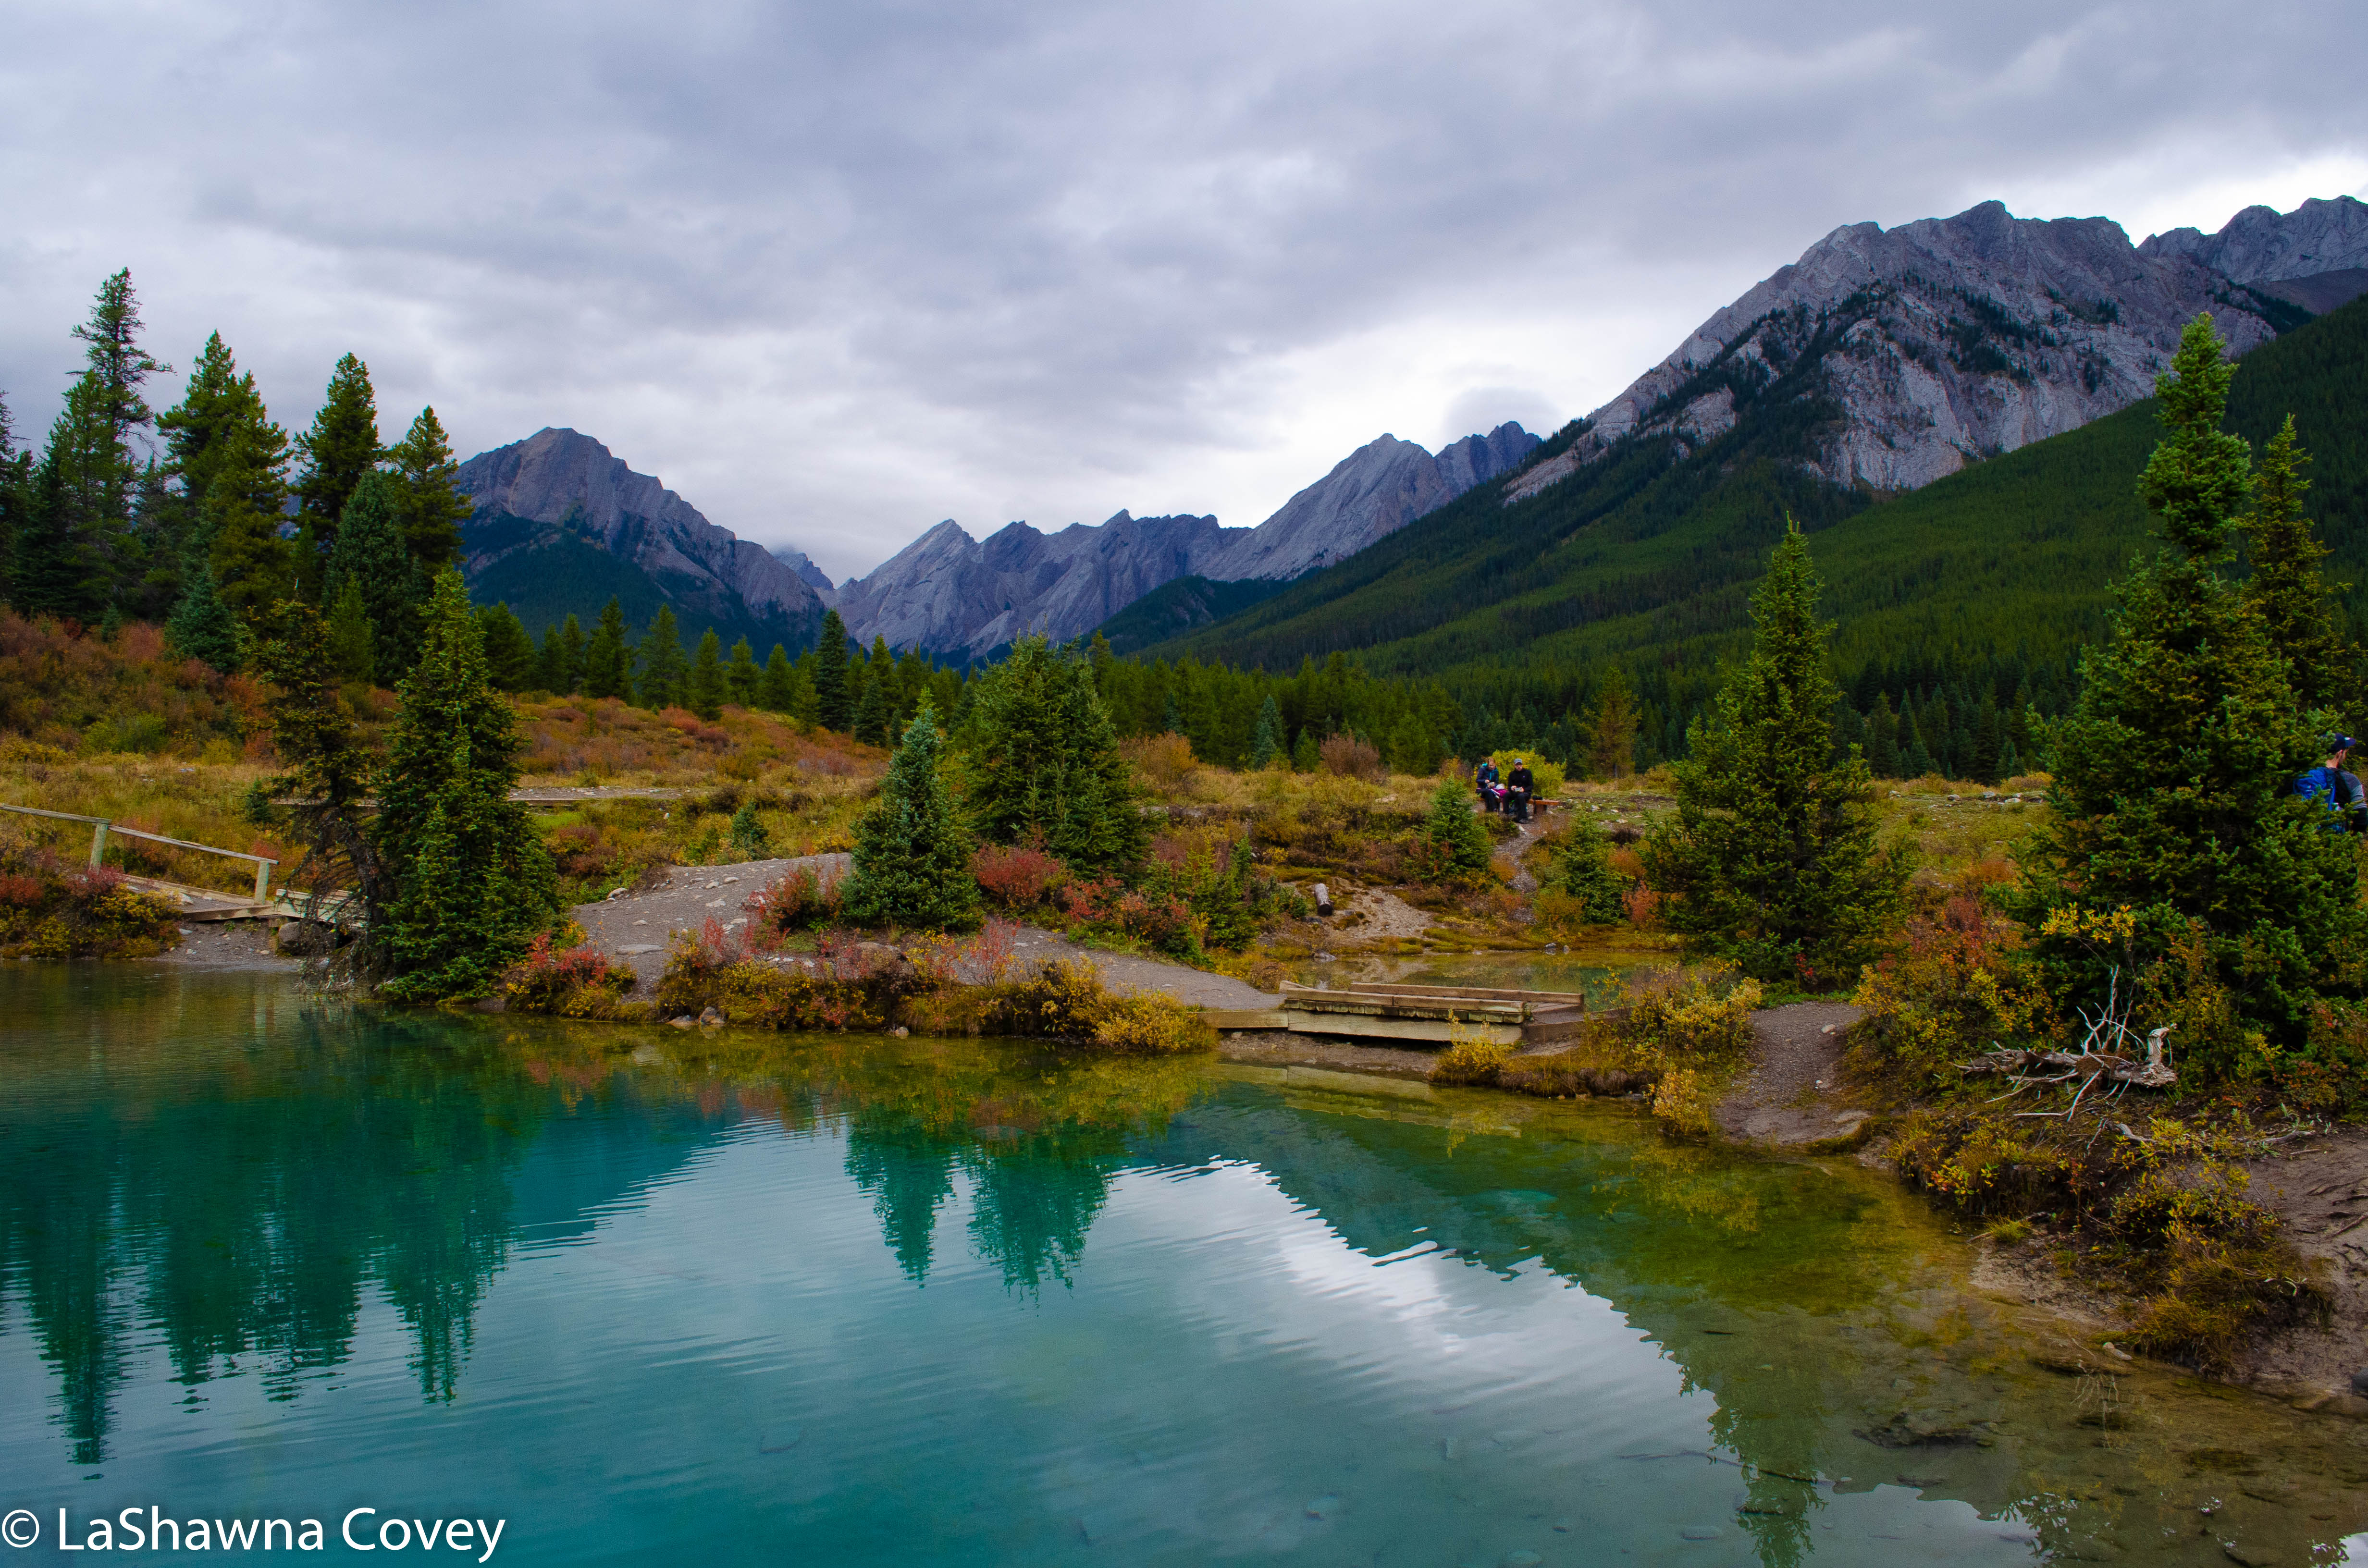
There are a couple points in the trip, where the trail diverges, and you can get different views, and then the trail reconnects. One of those points was the taking the trail toward Laguna Capri. The lake was only about four kilometers from the trailhead, so it is considered an easy hike compared to the more difficult destination of Laguna de Los Tres. Laguna Capri is a fairly large lake, and a great place to relax for a bit and have a snack or lunch. It is also one of the few places along the trail where you can camp. I still had good view of the mountain tops.

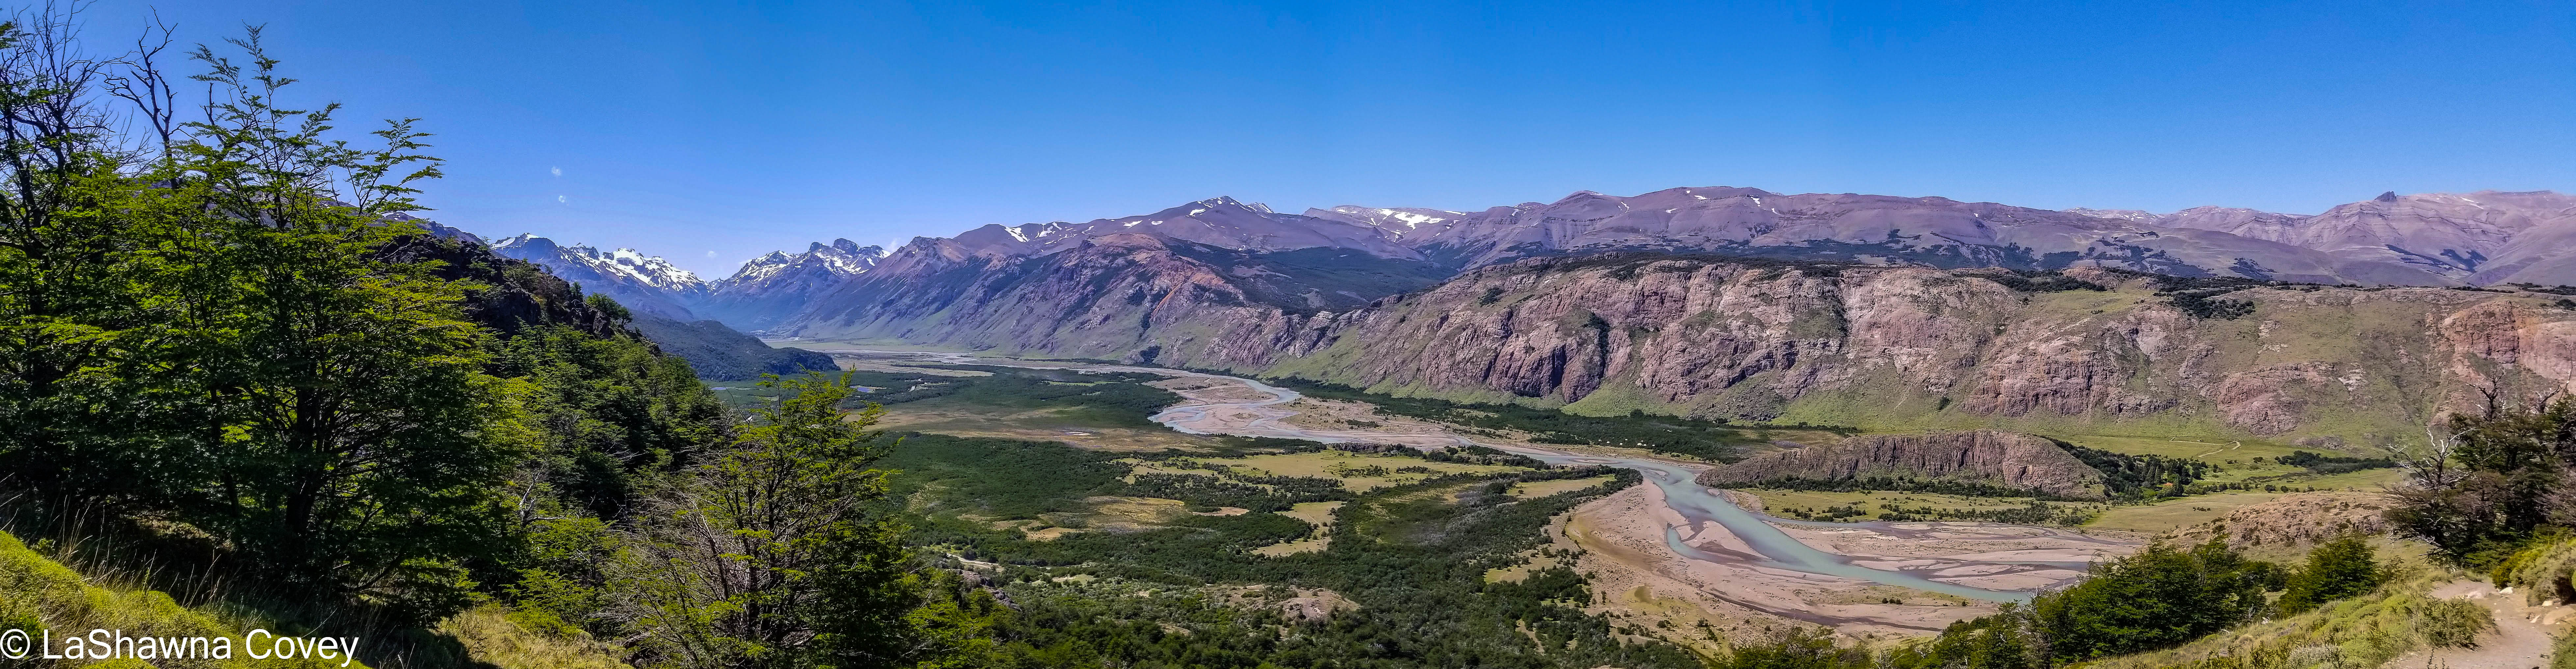
The rest of the hike was fairly easy, though as I was getting closer, I was starting to worry. I had read enough that the first part of the hike from the trailhead was fairly steep (one of the reasons why I wanted to take the alternate trail). I could see that the trail was slowly but surely heading downhill, though I was still fairly high up with not that many kilometers left to make a gentle descent. The trail was pretty good, if a bit narrow in spots, with some steep drop-offs. The final viewpoint for me is the first viewpoint for most people, as it provides a very expansive view of the river valley and the Rio de los Vueltas.
Much to my surprise and relief, the final part of the trail for me was fairly easy. The trail is very well maintained and achieves its elevation gain through manageable switchbacks. I wouldn’t have wanted to come up it if I didn’t have to, because it was a steady, continuous ascent for four kilometers, but descending it was much easier than I expected, and I soon found myself at the trailhead with a short walk back to my hotel. My feet were tired, and my body ached, but I had a sense of accomplishment, because I had done two long hikes back to back and lucky that I had wonderful weather (which can be fleeting in Patagonia) and spectacular views to show for it.

This is one of those hikes you can customize to your skill and fitness level. If you don’t mind a steady uphill climb for the first four kilometers, or an out and back hike, you can easily start at the El Chalten trailhead and save yourself some time and money. However, if you are like me, and prefer a straight through hike, when possible, you can take the shuttle bus or a taxi (a shuttle bus is much cheaper, but it may be fully booked on the day you want to do your hike) and start out near Hosteria El Pilar. The total amount of miles is actually less if you start at El Pilar. I personally think the amount of uphill is less, and you get a different view throughout the entire hike. Just be sure to turn around frequently on your return trip to El Chalten, because those mountain views are not to be missed. And while the view of the lagunas is supposed to be the highlight of the hike, it is rather strenuous and difficult to reach, so there is no shame in knowing your physical limits, and not doing that part of the hike. Trust me, there are plenty of other beautiful views to enjoy along this hike.